You’re aiming for a shoulder-length cut that flatters your face shape and lifestyle, so you’ll start with precise sectioning, a controlled baseline, and clean elevation. You’ll select tools that guarantee accuracy, then set the length with a blunt or soft bevel. You’ll integrate tailored layering, refine with point-cutting, and calibrate fringe to frame features. Finally, you’ll polish with a round brush and heat control. The key steps—and exact angles—come next.
Key Takeaways
- Diagnose face shape, choose perimeter (blunt, beveled, or tapered), and plan fringe type; calibrate length to shoulders with minimal elevation.
- Prep tools and hair: cleanse, detangle, heat-protect; use 5.5–6” shears, 7” comb, clips; pre-dry to 70% with nozzle dryer.
- Section into quadrants with a center part; set a clean shoulder-length baseline, blades parallel to floor; maintain even tension on damp hair.
- Cross-check horizontally and vertically; refine with point-closing; connect fringe and face-framing using diagonal-forward sections for cohesion.
- Finish by directional blow-dry and light texture techniques; set maintenance: heat protection, weekly deep-condition, monthly clarify, and 8–10 week micro-trims.
Choose the Right Length and Shape for Your Face
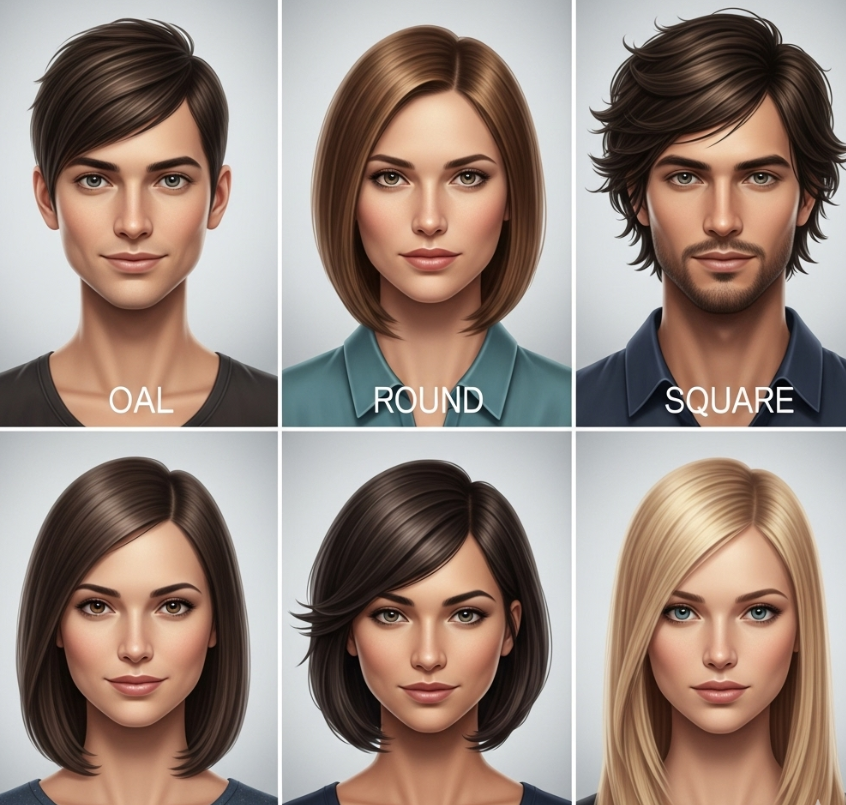
Blueprints matter: start by mapping your face shape—oval, round, square, heart, or long—and your hair’s density, texture, and growth patterns. Use that diagnostic to set a shoulder-grazing baseline, then customize perimeter and internal architecture.
For oval, maintain a blunt or softly beveled edge; balanced proportions tolerate minimal layering. For round, extend length slightly below the clavicle and add vertical, face-framing layers to elongate. For square, soften corners with curved layering and a diffused perimeter. For heart, keep fullness below the cheekbones and avoid heavy width at temples. For long, build width with medium layers and a gentle bend.
Match hair texture to technique: fine needs micro-layering and weight preservation; medium tolerates slide-cutting; coarse or curly prefers dry shaping, debulking, and controlled expansion management.
Gather the Essential Tools and Prep Your Hair
A precise setup yields a precise cut, so assemble pro-grade tools and prep your canvas before sectioning. Start with intentional tool selection and disciplined hair care to guarantee clean lines and predictable behavior at shoulder length.
Precise prep begets precise cuts—choose pro tools and disciplined care for clean, predictable shoulder-length results.
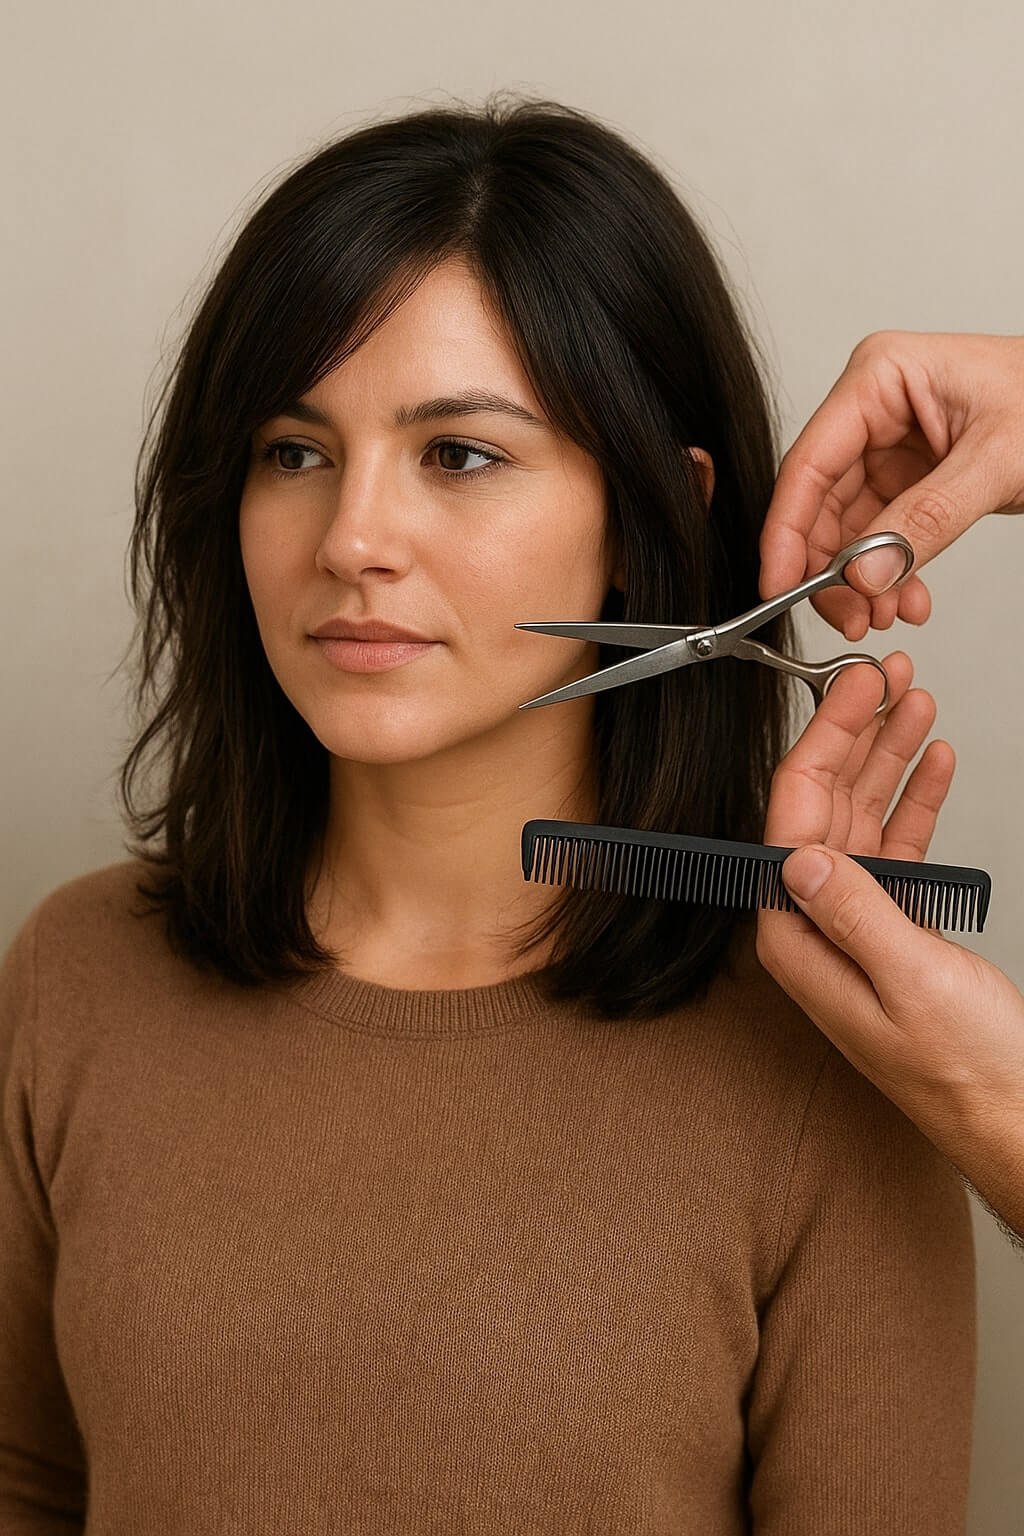
- Shears and combs: Choose 5.5–6” convex-edge shears for blunt accuracy, a 7” cutting comb for tension control, and a carbon tail comb for clean partings. Keep shears honed and sanitized.
- Support tools: Have duckbill clips, a water mister, microfiber towel, and cutting cape. Use a neck strip for hygiene and stability.
- Blow-dryer and brushes: Use a nozzle-equipped dryer and ceramic round brush to pre-dry to 80% for a true growth pattern read.
- Prep protocol: Shampoo with a pH-balanced cleanser, condition lightly, detangle from ends up, apply heat protectant, and mist for even, workable moisture.
Sectioning Techniques for Precision and Control
Start with a clean center parting to establish symmetry and control your elevation.
Then create quadrant section mapping—front left/right and back left/right—to manage density, guide over-direction, and maintain consistent tension.
With clips and fine-tooth comb, you’ll isolate working panels for precise lines and balanced shoulder-length results.
Clean Center Partings
Even before your first snip, establish a clean center part to anchor symmetry and control. Use clean techniques to create a razor-straight guideline that balances weight distribution and guarantees even elevation.
Work on damp, combed hair with a fine-tooth tail comb, aligning the part with the client’s nasal bridge for facial symmetry. Maintain consistent tension and mirror your angles so subsequent sectioning tracks precisely.
- Position: Seat the client upright; confirm head is neutral to avoid biasing parting styles or length.
- Tools: Use a metal tail comb for sharp delineation; mist with cutting lotion to reduce flyaways.
- Method: Trace from the frontal hairline to the apex in one continuous pass; re-comb to verify.
- Control: Clip away opposing panels immediately; cross-check visually and by feel for uniformity.
Quadrant Section Mapping
Once the center part is locked, divide the head into four controlled quadrants to stabilize elevation, overdirection, and weight flow.
Use quadrant mapping to mirror density and growth patterns, ensuring consistency from crown to perimeter. Create a clean horizontal from apex to behind the ear on both sides, then drop verticals to isolate front and back panels. Clip with firm tension, tips facing inward to prevent cross-contamination.
Apply sectioning techniques that support your target shape: elevate posterior quadrants for softness, maintain lower elevation anteriorly to preserve face-framing weight.
Control overdirection by keeping guide paths parallel to each quadrant’s seam line. Recheck balance with cross-partings at 45° and 90°. Maintain moisture and even tension.
This system delivers symmetry, predictable fall, and client-specific precision.
Cutting the Baseline: Establishing Your Length
Two precise decisions define your baseline: where the perimeter sits and how cleanly it’s cut. You’ll anchor length determination at the shoulders, then calibrate elevation and finger angle to maintain a consistent perimeter.
Use baseline techniques that keep tension uniform and the head neutral to avoid skewing the line. Work from center-back outward, checking symmetry with mirror points and guide rechecks.
Keep tension uniform, head neutral; cut center-back outward, verifying symmetry with mirror points and guide rechecks.
- Establish a stationary guide at nape level; decide collarbone, shoulder-grazing, or above-shoulder for your target length.
- Cut with zero to minimal elevation, blades parallel to the floor for a blunt, weight-holding perimeter.
- Control tension: damp hair, consistent comb pressure, and identical overdirection—none for a true line.
- Cross-check horizontally and vertically, then refine with point-closing to remove micro-burrs without introducing texture.
Adding Layers, Texture, and Movement
While your baseline locks in length and weight, layering defines how that weight moves. Choose layering techniques based on density and fabric of hair.
For fine hair, use vertical, minimal elevation with soft overdirection to maintain perimeter strength while adding lift.
For medium density, employ uniform layers with 90-degree elevation to create balanced debulking and swing.
For thick or curly hair, use internal layering and slide cutting to collapse bulk without shredding curl pattern.
Refine movement with controlled texturizing: point cutting for diffused ends, notch cutting to break up heaviness, and channel cutting to carve interior airflow.
Polish with texture products matched to porosity—lightweight mousse for fine, sea-salt or sugar sprays for medium, and curl creams or matte clays for thick.
Finish with directional blow-dry to set flow.
Detailing the Perimeter, Bangs, and Face-Framing
Now we’ll refine your outline by choosing the perimeter shape—blunt, softly beveled, or curved—to control weight distribution and line.
We’ll calibrate bang length for brow, lash, or cheek exposure, ensuring balance with your proportions and growth patterns.
Then we’ll set face-framing angles, cutting from cheekbone or jaw to collarbone to contour and enhance your features.
Perimeter Shape Options
Because the perimeter sets the visual architecture of your shoulder-length cut, choose its shape with intention: blunt for maximum weight and polish, softly rounded for gentle movement, or tapered for diffusion and swing.
You’ll calibrate this edge to balance density, neck length, and styling habits while keeping edges clean and intentional.
- Blunt cut: Opt for a solid baseline to compact fullness, sharpen outline, and enhance shine. Use minimal elevation; point-cut only to micro-refine without losing weight.
- Softly rounded: Curve the perimeter forward to hug the clavicle. Maintain low elevation and gentle over-direction for seamless flow into face-framing.
- Tapered: Compress bulk with internal debulking; finish with textured ends for airiness and swing.
- Asymmetric: Shift length slightly on one side to counter cowlicks or frame asymmetrical features; keep the nape precise for stability.
Bang Length Balance
Two key variables govern bang length balance at the shoulders: eye line and cheekbone apex. You’ll calibrate fringe where it intersects these landmarks to control exposure and proportion. For soft focus, set the longest bang point to graze the lash line; for openness, lift to mid-forehead.
Map cheekbone apex and mirror that elevation in the shortest interior point to prevent heaviness.
Work with fringe types and bang styles deliberately. For blunt fringes, cut on minimal elevation with micro beveling to prevent shelfing. For curtain fringes, overdirect center to temple for a soft push-away. For wispy options, point-cut with shallow notches and low density removal.
Always dry-cut at natural fall, cross-check wet, then refine perimeter so bangs align fluidly with the shoulder-length outline without collapsing volume.
Face-Framing Angles
With bang length balanced to the eye line and cheekbone apex, refine how the perimeter, fringe, and face-framing angles read together.
Map your face shape, then establish a soft A-line perimeter that kisses the clavicle, preventing a boxy outline. Elevate at low to mid-elevation for fluid movement while preserving weight near the jaw to contour.
- Create a curved fringe: over-direct to center for softness; point-cut to break the line without losing intent.
- Carve face-framing: start at the lip or cheekbone; slide-cut with shallow tension for seamless beveling.
- Connect to perimeter: use diagonal-forward sections; maintain visual density at the ends.
- Personalize to haircut trends: integrate internal tapering, micro-texture, or curtain-bang variants to modernize while honoring growth patterns, cowlicks, and lifestyle maintenance.
Styling Methods and Maintenance Tips
Although shoulder-length cuts are versatile, your finish depends on disciplined technique and routine care. Start with a precise blow-dry: rough-dry to 70%, then use a ceramic round brush to bevel ends or create S-waves. Direct airflow down the cuticle for shine.
Shoulder-length shines with discipline: rough-dry to 70%, round-brush for beveled ends or S-waves, airflow downward.
For definition, alternate flat-iron bends at ear and collarbone. Diffuse curls on low heat, scrunching with a light hold gel.
Select styling products by hair density: mousse for fine lift, cream for medium control, balm or curl custard for texture. Finish with a flexible hairspray; avoid hard lacquers that freeze movement.
Establish a maintenance routine: micro-trim every 8–10 weeks, clarify monthly, deep-condition weekly, and protect with heat primer every session. Sleep in a loose silk scrunchie to preserve shape.
Conclusion
You’ve now mastered a salon-precise shoulder-length cut—customized to your face shape, balanced with controlled elevation, and refined with clean perimeter work. With accurate sectioning, a consistent baseline, calibrated layering, and point-cut texturizing, you’ll deliver movement without bulk and a polished finish. Style with directional blow-drying and a ceramic round brush for smooth tension and bevel. Maintain with 6–8 week trims, light thermal protection, and targeted products to preserve shape, shine, and weight distribution between appointments.