If you want an eyebrow slit that looks intentional, not accidental, you need a plan: style selection, face-shape mapping, sharp tools, and disciplined technique. You’ll prep skin, mark for symmetry, and execute clean lines—whether it’s a single cut, double parallel, or a creative pattern. Then comes aftercare to prevent irritation and protect regrowth. We’ll cover mistakes to avoid, maintenance cycles, and pro tips that keep your slit crisp—starting with choosing the right pattern for your features.
Key Takeaways
- Map your slit with a cosmetic pencil using a brow ruler; mark start, arch, and tail for symmetry before cutting.
- Choose a style—single, double, or patterned—based on brow density and face shape; darker, fuller brows show slits best.
- Cleanse, exfoliate, and sanitize skin and tools; work under bright light with a magnifying mirror for precision.
- Create the channel with light scoring passes (2–3 mm width), cutting with the grain; mirror spacing for double slits (3–5 mm apart).
- Maintain weekly with guarded trims; soothe aftercare with cool compress and aloe, avoiding heat or heavy waxes for 24 hours.
What Is an Eyebrow Slit and Who It Suits
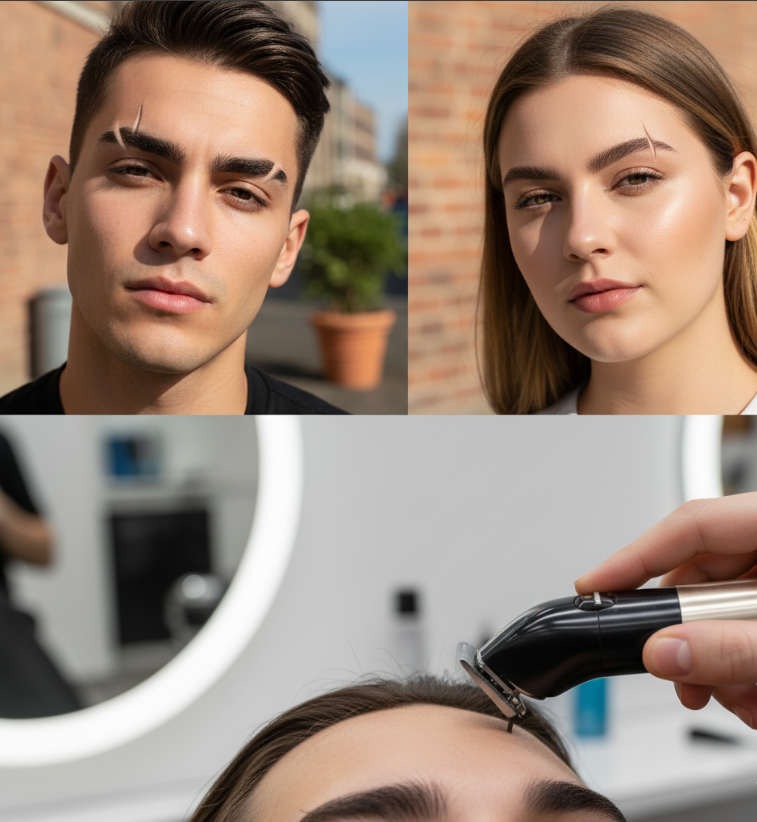
Though it’s often seen as a bold style statement, an eyebrow slit is simply a deliberate shave line or gap in the brow that creates contrast and edge. You modify the brow’s continuity to draw the eye, sharpen facial structure, and signal intentional styling.
An eyebrow slit is a deliberate gap that sharpens features and signals intentional styling.
In eyebrow slit history, the look moved from subcultural markers in the late 20th century to mainstream adoption via athletes, musicians, and social media.
You’ll suit an eyebrow slit if your brow density can handle a break without looking patchy. Dark, full brows deliver the clearest definition; lighter or sparse brows benefit from tinting before cutting.
Strong cheekbones, angular jawlines, and short hairstyles amplify impact. Current eyebrow slit trends favor clean, narrow gaps and precise placement—aligned with the arch or tail—for balanced asymmetry and polished attitude.
Styles and Patterns to Consider
With fit and face shape in mind, you can choose from staple slit styles that read sharp, modern, and intentional. Prioritize clean lines, consistent spacing, and mirrored symmetry (unless you’re going deliberately asymmetric).
Keep widths between 1–2 mm for crisp definition; anything wider reads bolder and more urban. Anchor every cut to natural brow growth so edges don’t fuzz.
- Single slit: a minimal, high-contrast cut that signals precision without overpowering.
- Double parallel: two evenly spaced lines for a stronger, fashion-forward mark.
- Offset asymmetry: one slit per brow, staggered, for movement and editorial energy.
- Patterned: chevrons, micro-dashes, or broken lines—trendy designs with controlled repetition.
Add artistic variations sparingly: gradient depths, tapering ends, or a subtle angle shift. Test alignment with a brow pencil before committing.
Face Shape Guide to Picking Your Slit
Start by identifying your face shape—oval, round, square, heart, or long—so you can predict how a slit shifts visual weight.
Place the slit to either sharpen structure (outer third for round faces, near the arch for heart shapes) or soften angles (inner third or paired micro-slits for square and long faces).
Balance features proportionately by matching slit width and count to brow density and spacing, keeping symmetry intentional but not rigid.
Identifying Your Face Shape
Curious which slit placement will flatter your features most? Start with precise face shape analysis. Tie your hair back, face natural light, and capture a straight-on photo. You’ll map width at forehead, cheekbones, and jaw, then measure face length. By determining proportions, you’ll classify your shape with confidence and avoid guesswork.
- Forehead vs. jaw: If the forehead’s widest, you’re trending oval or heart; if the jaw dominates, you’re square or rectangle.
- Cheekbone apex: Prominent, widest cheekbones often signal a diamond silhouette.
- Length index: Length greater than width by >1.5x leans rectangle or oval; near-equal suggests round or square.
- Jaw contour: Pointed equals heart/diamond; angular equals square; softly curved equals round.
Lock this baseline in before evaluating brow density, arch height, and hairline nuances.
Slit Placement Strategies
Ready to translate your face-map into a precise slit game plan? Map your brow’s landmarks: inner start, arch apex, tail drop.
For round faces, place a single slit just past the arch to add vertical energy. For oval, center it between peak and tail for balanced edge. Square jaws benefit from a notch near the arch’s rise to soften angularity. Heart shapes read cleaner with a discreet slit closer to the tail.
Control impact with slit width variations: narrow (1–2 mm) for subtle definition, medium (3–4 mm) for statement, double-slit spacing at 3–5 mm for graphic intent. Angle the cut perpendicular to hair growth for crisp lines.
Before deciding, acknowledge cultural significance; some communities assign meanings to placements and counts—research norms, then execute respectfully.
Balancing Features Proportionately
While trends evolve, proportion stays constant: your slit should rebalance facial geometry, not fight it. Assess brow length, arch height, and spacing, then position the slit to optimize eyebrow symmetry and feature enhancement.
For round faces, offset a single slit near the tail to elongate. For long faces, choose a mid-brow slit to visually shorten. Square jaws benefit from a softened arch with a narrow, precise slit near the highest point. Heart shapes gain harmony with a subtle slit just past center.
- Map thirds: hairline to brows, brows to base of nose, base of nose to chin; place the slit to correct the longest third.
- Mirror-check alignment; avoid bilateral slits unless balancing asymmetry.
- Keep width 2–4 mm; depth minimal.
- Blend edges for clean healing and crisp definition.
Tools You’ll Need and How to Prep
You’ll set yourself up for a clean, on-trend slit by assembling precision tools: a fine-tooth brow comb, pointed tweezers, a sharp single-blade razor or trimmer, brow scissors, and antiseptic.
Cleanse, exfoliate lightly, pat dry, then map the slit with a cosmetic pencil and apply a thin layer of numbing gel or aloe for glide.
Sanitize tools and skin to reduce irritation and guarantee crisp, symmetrical lines.
Essential Grooming Tools
Two precision tools define clean, safe eyebrow slits: a sharp, fine‑edged razor and a slant‑tip tweezer. These grooming essentials give you control, crisp edges, and minimal tug.
Prioritize stainless steel, replaceable blades, and firm tweezer tension; they’re reliable, sanitary, and travel‑friendly. For tool recommendations, choose pro-grade brands with consistent blade geometry and calibrated springs.
- Fine‑edged single‑blade razor: delivers narrow, predictable cuts without chatter.
- Slant‑tip tweezer: isolates hairs cleanly to map the slit and refine margins.
- Spoolie brush: aligns brow hairs so you can assess direction and density.
- Alcohol wipes: decontaminate tool surfaces between passes for safety.
Work under bright, diffuse light and a magnifying mirror. Anchor your non‑dominant hand to stabilize the brow.
Replace dull blades immediately to prevent snagging and uneven lines.
Skin Prep Steps
Before the blade touches your brow, set the canvas: cleanse the area with a gentle, pH‑balanced face wash, then degrease the strip you’ll slit using an alcohol wipe to remove oils that can cause razor drift.
Pat dry. If you’ve got buildup, apply micro skin exfoliation techniques—think enzyme gel or a mild BHA swipe—strictly along the intended slit path to level texture and lift trapped debris. Rinse or neutralize per product instructions.
Disinfect your precision razor with 70% isopropyl alcohol. Brush brow hairs upward with a clean spoolie to expose growth direction and mark your slit with a cosmetic pencil for symmetry.
Skip occlusive moisturizing products pre-cut; instead, use a light, fast-absorbing gel to reduce friction. Finish by placing sterile gauze and styptic on standby.
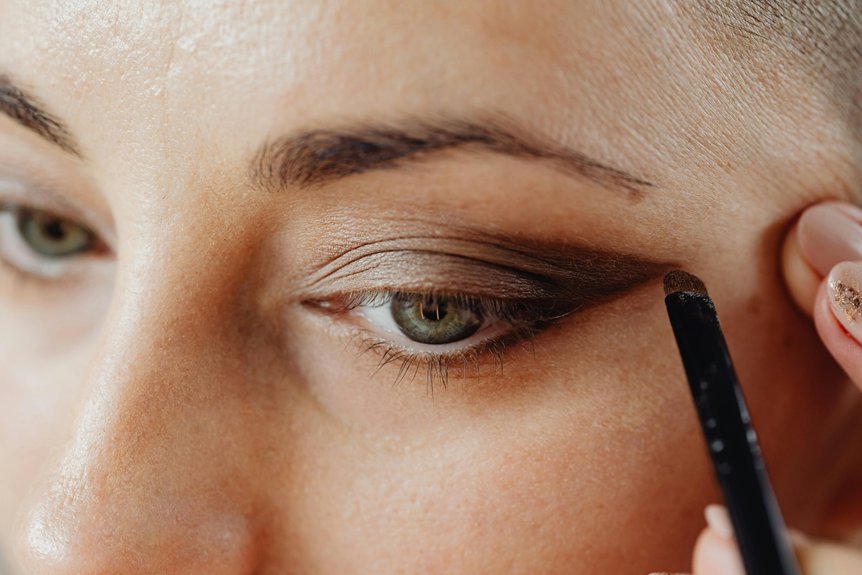
Mapping and Marking for Symmetry
Although eyebrow slits look effortless, symmetry starts with precise mapping. Stand facing good, even light and anchor your baseline with a brow ruler or straight edge. Use tried-and-true symmetry techniques: measure from the bridge to each arch, confirm equal brow heights, and mark reference points before any cutting.
Choose high-contrast, skin-safe marking tools—white mapping pencil or fine-tip brow pen—for crisp, removable guides.
- Identify brow start: align a straight edge from nostril to inner corner; mark both sides.
- Fix the apex: run the edge from nostril through iris center; dot the highest arch points.
- Set the tail: angle from nostril to outer corner; confirm equal endpoints.
- Establish slit lane: draw a narrow, vertical guideline perpendicular to hair growth.
Step-by-Step: Creating a Single Slit
With your symmetry marks locked in, you’ll execute a clean, single slit by working in controlled stages. Disinfect your blade or trimmer guard, then comb the brow hairs upward to expose the guide. Anchor your hand on your cheekbone for stability.
Using precise Slit techniques, score a ultra-light line along your mark—don’t commit depth yet. Confirm alignment and width against current Eyebrow trends: 2–3 mm reads modern and balanced.
Deepen the score with a second pass, cutting with the grain to minimize tug. Remove hair within the channel, then refine edges vertically with short, controlled taps.
Brush hairs back into place and check symmetry from multiple angles. Finish by trimming stray overhangs, applying a soothing, non-greasy antiseptic gel, and photographing the result to standardize your technique.
Step-by-Step: Double Slits and Creative Cuts
Two slits demand deliberate planning and crisp execution. Map spacing first: mark two parallel guide dots 3–5 mm apart, aligned with your brow’s natural rise. Anchor your skin taut.
With a precision trimmer at 0–1 guard, cut the first channel using short, controlled passes, edge-to-center. Mirror the second channel, matching width and depth. Clean the borders with a fine razor for sharp geometry.
For creative designs, add a micro-offset (1–2 mm) or a diagonal connector, but keep symmetry measured.
- Test placements with a white pencil before committing
- Use calipers or a ruler for consistent spacing
- Keep channels within the brow body to preserve structure
- Photograph between steps to verify alignment
Reference cultural significance when borrowing motifs; adapt respectfully, not literally. Finish by brushing and inspecting under bright, neutral light.
Aftercare: Soothe Skin and Protect Hair
Post-slit, you need to calm irritation fast with a cool compress and a targeted, alcohol-free antiseptic.
Prevent ingrown hairs by gently exfoliating the area 24–48 hours later and keeping the slit edges clean.
Moisturize without clogging using a light, non-comedogenic gel or serum with soothing actives like niacinamide or aloe.
Calm Irritation Quickly
Even if your lines look sharp, your skin and follicles need immediate care to prevent inflammation and breakage.
First, cool the area: press a clean, chilled compress for 60 seconds to constrict capillaries and reduce redness.
Then cleanse with a fragrance-free micellar solution to remove residue without stripping.
Apply soothing products featuring 0.5% panthenol, colloidal oatmeal, or aloe polysaccharides—light gels absorb fast and won’t mat hair.
Lock moisture with a non-comedogenic occlusive, focusing around—not inside—the slit.
- Use calming techniques: breathwork lowers cortisol, reducing vasodilation and flush.
- Swap harsh astringents for pH-balanced hydrosols (rose, cucumber).
- Layer a peptide barrier serum; let it set before styling.
- Finish with a clean spoolie to realign hairs without tugging.
Avoid heat tools or heavy waxes for 24 hours.
Prevent Ingrown Hairs
While the slit heals, prioritize follicle patency and low friction to stop hairs from curling inward.
Cleanse the area daily with a mild, fragrance-free wash, then pat dry—don’t rub. Once dry, use a sterile spoolie to brush brow hairs in their natural direction; this keeps the ostia clear and aligns regrowth.
Apply targeted soothing techniques: a cool compress for five minutes, then a thin layer of 1% hydrocortisone for 24–48 hours to reduce edema, preventing irritation that can trap hairs.
Introduce gentle mechanical desquamation on day three: sweep a soft silicone brush or konjac sponge across the slit perimeter 2–3 times weekly.
Avoid waxing or threading near the slit until fully closed. Sleep on a clean pillowcase and skip tight hats; friction and occlusion increase ingrown risk.
Moisturize Without Clogging
How do you keep the slit calm and hydrated without suffocating follicles? Choose lightweight, non-comedogenic formulas that replenish water and lipids while preserving hair growth.
After cleansing, pat dry, then layer humectants under a breathable occlusive to support the skin barrier and minimize transepidermal water loss. Avoid heavy waxes and fragranced balms that trap debris and irritate the micro-wound.
- Look for moisturizing ingredients like glycerin, hyaluronic acid, panthenol, and beta-glucan for fast hydration.
- Seal with squalane or dimethicone—both reduce friction without clogging follicles.
- Add ceramides and cholesterol to rebuild the skin barrier after trimming or shaving.
- Spot-treat redness with niacinamide (2–5%) and centella to calm reactivity.
Use clean fingertips, apply sparingly, and reassess morning and night. If shine increases, scale back the occlusive layer.
Maintenance, Touch-Ups, and Regrowth Tips
Because a clean slit can blur fast as hairs cycle, lock in a weekly maintenance routine and plan for regrowth from day one.
Map your maintenance schedule to your hair rate: inspect every 3–4 days, touch up weekly. Use a guarded trimmer or precision blade, shaving with hair growth, then against, to crisp edges without widening the gap. Disinfect tools, then pat on a lightweight, non-comedogenic soothing gel.
For regrowth techniques, start nightly peptide or panthenol serums along the brow line, avoiding the slit’s negative space until fill-in is desired.
When shifting back, taper: reduce shaves to biweekly, then monthly, while brushing hairs downward to train alignment. Spot-conceal stubble with a fine brush and high-pigment cream. Photograph progress under consistent lighting to calibrate timing.
Common Mistakes and How to Avoid Them

Even a small misstep can turn a sharp slit into a patchy gouge, so identify the pitfalls before you pick up a blade. The most common errors stem from rushing, dull tools, and poor mapping. Clean, dry skin, proper lighting, and a firm wrist stabilize the cut. Use a cosmetic pencil to mark width and angle; commit to millimeter-precise strokes, not hacksaw passes. Sterilize the razor; replace it at the first drag.
Map before you slice: clean skin, sharp blade, steady wrist, single precise glide.
- Over-widening: cap your trimmer guard or stack tape as a width limiter.
- Crooked angles: align with your brow’s natural arch, not your hairline.
- Uneven depth: glide once, then refine—don’t excavate.
- Skin irritation: pre-shave with witch hazel; post-care with hydrocolloid dots.
Apply these technique tips consistently, and trend-forward results follow without repeats of common errors.
Conclusion
You’ve got the blueprint: choose a slit that complements your face shape, map with precision, and execute clean lines using pro-grade tools. Keep edges crisp with targeted touch-ups, soothe skin with gentle aftercare, and guard against irritation. Track regrowth to maintain symmetry and adapt styles as trends evolve—from minimalist single slits to graphic doubles. Avoid over-plucking, uneven spacing, and dull blades. With disciplined technique and maintenance, you’ll keep your brows sharp, modern, and camera-ready every time.