Maintaining your home’s curb is one of the most overlooked aspects of exterior upkeep. Yet, it’s essential for both aesthetic appeal and structural integrity. Cracked, stained, or misaligned curbs not only reduce your home’s curb appeal but may also lead to more severe damage if ignored. Fortunately, with a little time and some basic materials, you can implement a simple DIY routine to keep your curbs in top shape without hiring a professional.
In this guide, we’ll explore a practical, budget-friendly DIY maintenance routine that every homeowner can follow. Whether your curbs are concrete or stone, these steps will help you extend their lifespan, enhance safety, and elevate your home’s appearance.
Why Maintaining Your Curbs Matters
- Prevents Structural Damage: Water infiltration through cracks can erode the base, leading to crumbling or misalignment.
- Improves Curb Appeal: Clean, intact curbs make your driveway, walkway, and garden edges look well-maintained.
- Saves Money: Early intervention through DIY care avoids costly professional repairs or replacements.
- Increases Safety: Well-maintained curbs reduce the risk of trips, falls, and tire damage.
Tools and Materials You’ll Need
Before you begin your curb maintenance routine, gather the following items:
- Stiff-bristle broom
- Garden hose or power washer
- Concrete patch or sealant
- Caulking gun (for sealant)
- Wire brush
- Rubber gloves
- Safety goggles
- Paver sand (if working with paver curbs)
- Paint or curb sealant (optional for final finish)
Step-by-Step DIY Routine to Maintain Your Home’s Curbs
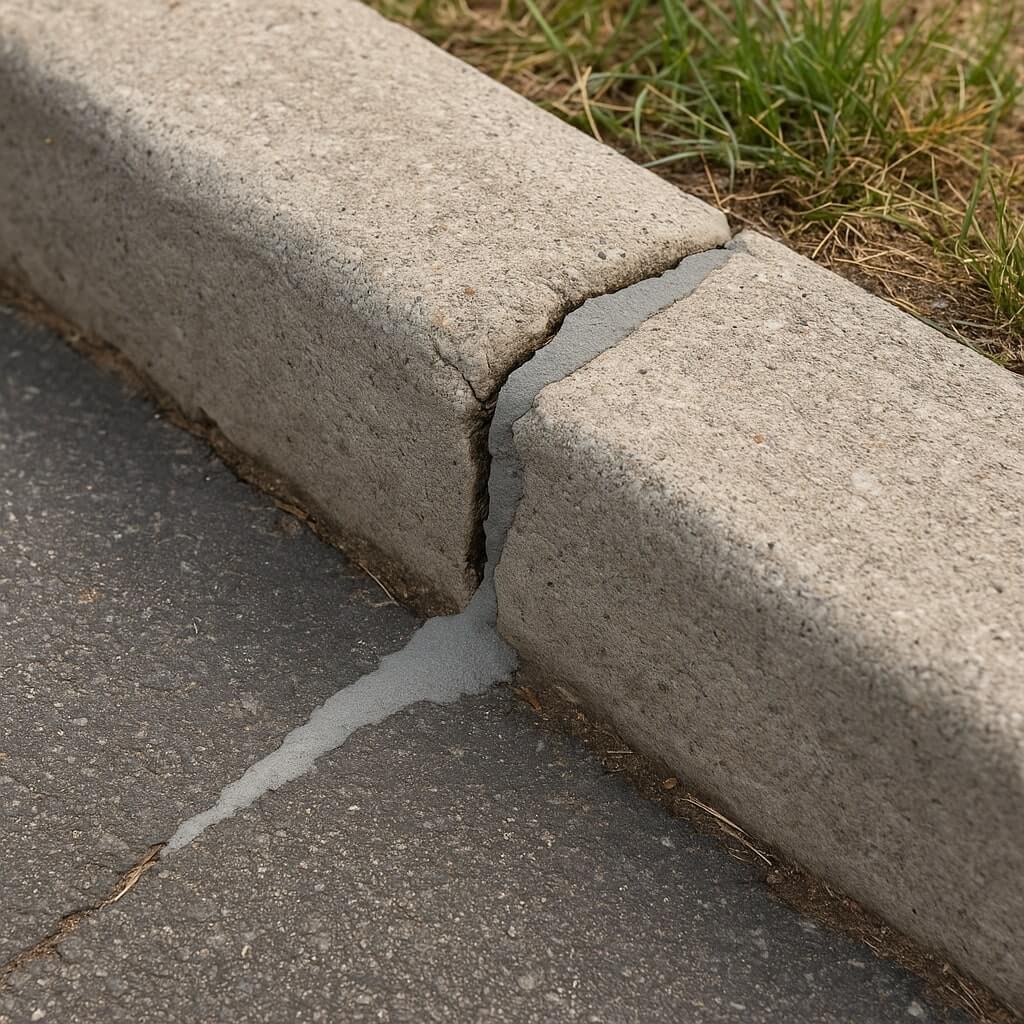
Step 1: Inspect the Curb
Walk along all your home’s curbs and look for the following:
- Cracks or gaps
- Loose or missing sections
- Signs of mould, mildew, or discolouration
- Wateris pooling near the base
Make a list of problem areas to address during the routine.
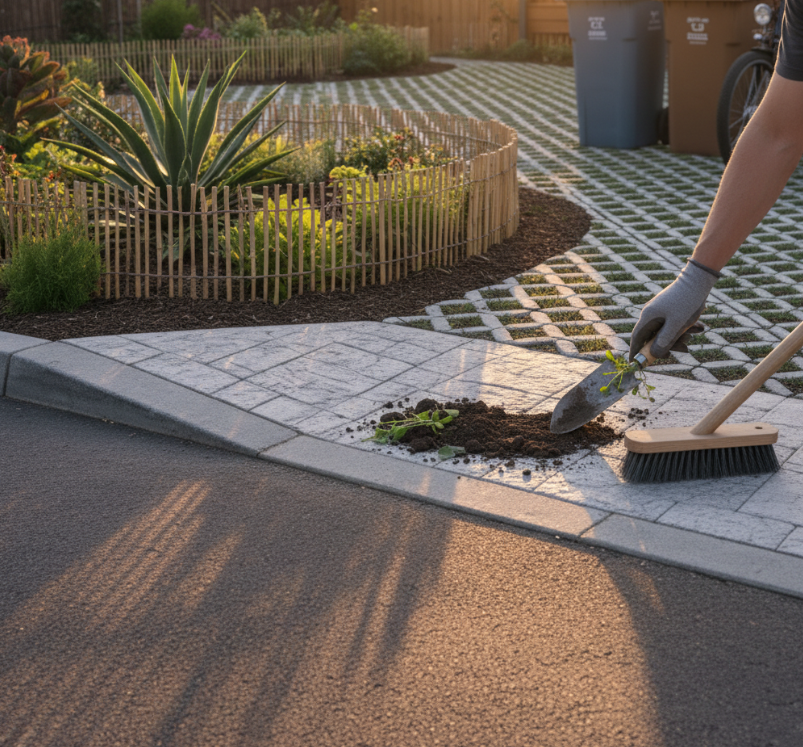
Step 2: Clean Thoroughly
Dirt, moss, and debris prevent proper sealing and mask damage.
- Use a stiff-bristle broom to sweep away loose dirt and leaves.
- Rinse with a hose or power washer to remove grime, mould, or moss.
- For stubborn stains, scrub with a wire brush and mild detergent.
Let the area dry completely before proceeding to the next step.
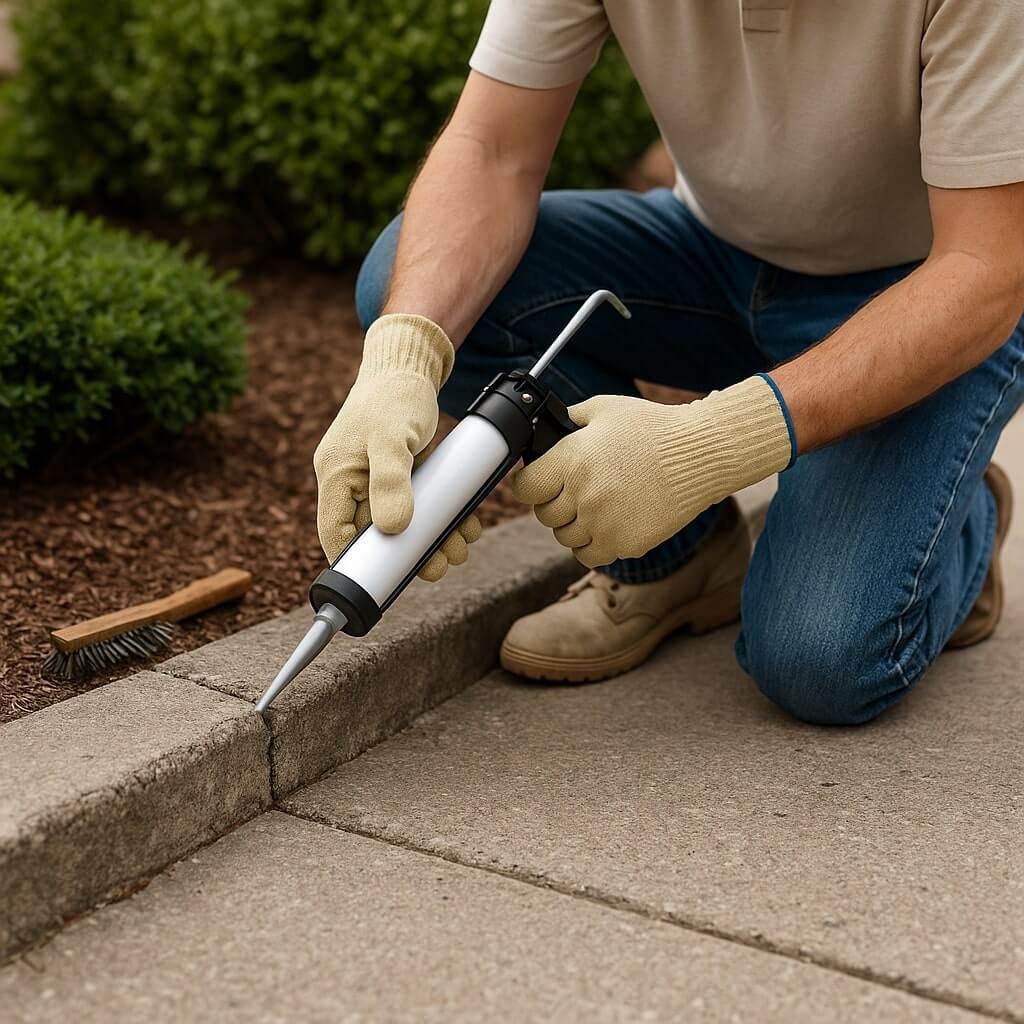
Step 3: Repair Cracks and Chips
Concrete curbs often develop hairline cracks over time.
- Use a concrete patch compound for cracks less than ½ inch wide.
- For larger gaps, apply a concrete mix or filler with a putty knife.
- Use a caulking gun for flexible sealants in expansion joints.
Allow repairs to cure as per the manufacturer’s instructions.
Step 4: Re-Level Loose or Misaligned Sections
For stone or paver curbs:
- Lift and reposition any misaligned stones.
- Add levelling sand underneath if needed.
- Tap lightly with a rubber mallet for a secure fit.
For poured concrete curbs, check for signs of heaving or sinking and consult a professional if structural changes are evident.
Step 5: Apply a Sealant or Protective Coating
Sealants help prevent moisture damage and staining.
- Choose a weatherproof, UV-resistant sealant designed for concrete or stone.
- Apply evenly with a brush or roller.
- Let dry for 24–48 hours without exposure to rain or foot traffic.
Optional: Paint the curb with weather-resistant outdoor paint for added aesthetic appeal.
Step 6: Perform Regular Maintenance
Set a schedule for simple, ongoing upkeep:
- Monthly: Sweep and visually inspect.
- Quarterly: Power wash and touch up cracks.
- Annually: Reseal and repaint if needed.
Bonus Tips for Long-Lasting Results
- Avoid harsh chemicals when cleaning — use biodegradable or pH-neutral cleaners.
- Divert water runoff away from curbs to prevent erosion.
- Keep nearby plants trimmed to prevent root damage or discoloration from organic debris.
- Use edging restraints for pavers to maintain alignment.
FAQs: Simple DIY Curb Maintenance
How often should I inspect my home curbs?
What type of sealant is best for concrete curbs?
Can I repair large cracks myself?
Is painting the curbs necessary?
What’s the best time of year for curb maintenance?
How do I know if my curb damage is structural?
Final Thoughts
A simple DIY curb maintenance routine not only boosts your home’s visual appeal but also acts as a proactive strategy to avoid long-term damage. With a little effort and regular attention, your curbs can stay in excellent condition for years to come. Set aside a weekend every few months and protect the boundary that frames your entire home exterior.
For any homeowner looking to preserve the beauty and structure of their property, curb maintenance is a small investment with lasting rewards.