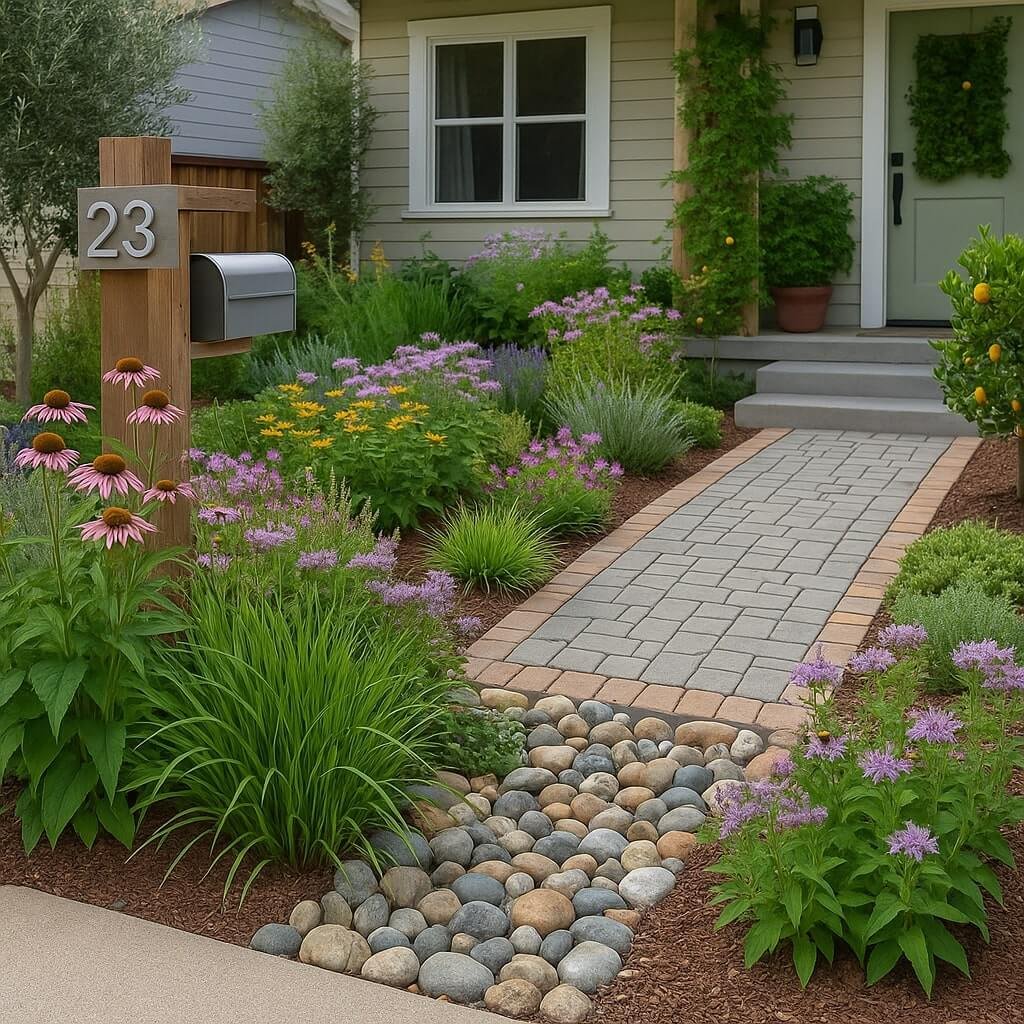
Maintaining your home’s curb appeal doesn’t have to come with a hefty price tag. Cracks, chips, and worn edges on your curbs can quickly downgrade your property’s appearance. Thankfully, affordable DIY kits for quick curb repairs are now widely available, making it easier than ever to handle minor curb damage yourself, without hiring a professional.
In this comprehensive guide, we’ll cover everything you need to know about
https://westlakehomeshow.com/top-rated-curb-repair-kits: what they include, how to use them, the benefits, and answers to common questions to help you get started on the right foot.
Why Choose DIY Curb Repair Kits?

1. Cost-Effective Solutions
Professional curb repair can cost anywhere from $200 to over $1,000, depending on the damage. In contrast, most DIY kits range from $25 to $100, making them a budget-friendly option.
2. Ease of Use
These kits are designed with homeowners in mind. With simple instructions and minimal tools required, most repairs can be completed in under an hour.
3. Convenient and Time-Saving
You don’t need to schedule appointments or wait days for a contractor. DIY kits let you tackle repairs when it’s convenient for you.
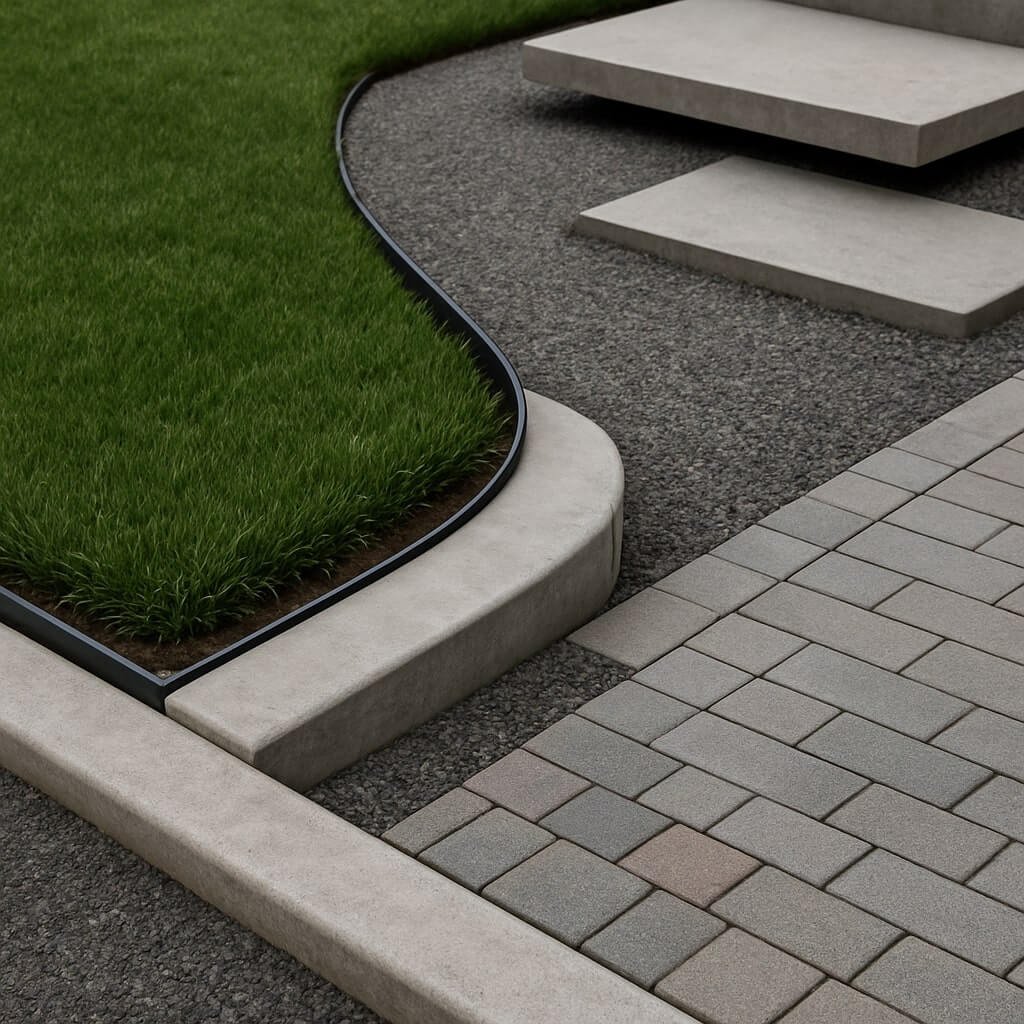
4. Increased Property Value
Even minor repairs can make a big difference in how your property is perceived. Clean, intact curbs contribute to a well-maintained, polished exterior.
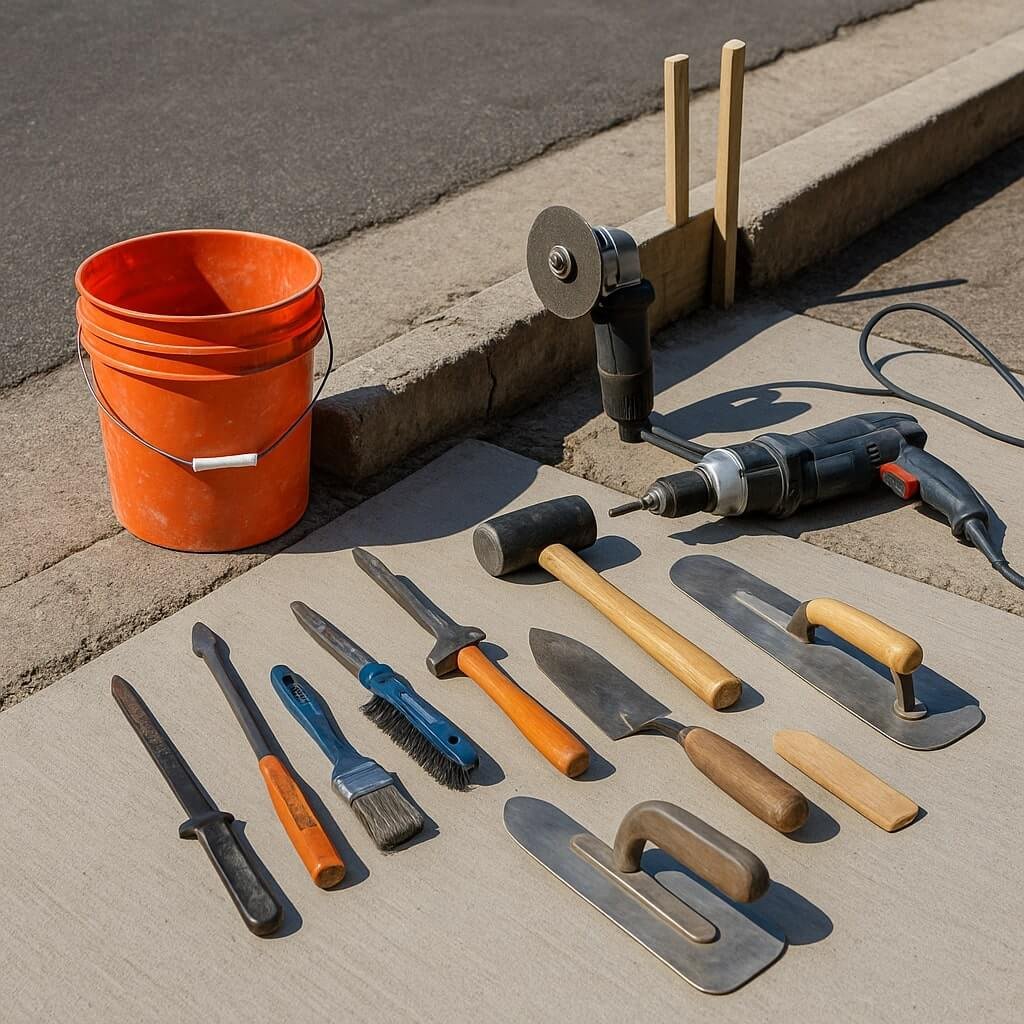
What’s Included in a Typical DIY Curb Repair Kit?
While contents may vary, most curb repair kits contain:
- Fast-setting concrete or polymer-modified repair mortar
- Bonding agent or primer
- Mixing tools and applicators (e.g., trowel or putty knife)
- Protective gloves
- Instruction manual or video guide
Some higher-end kits also include sealants to waterproof and extend the repair’s life.
Step-by-Step Guide: How to Use a Curb Repair Kit
Step 1: Inspect and Clean the Area
Remove loose debris, dirt, and any crumbling concrete. Use a wire brush for better bonding.
Step 2: Apply Bonding Agent (If Provided)
This step helps the repair material adhere securely to the existing surface.
Step 3: Mix the Repair Mortar
Follow the instructions for consistency and curing time. Some kits provide pre-mixed compounds.
Step 4: Apply the Mixture to the Damaged Area
Use the applicator tool to press the compound into cracks or gaps. Shape and smooth it to match the existing curb.
Step 5: Let It Cure
Allow sufficient curing time (usually 1–4 hours, depending on the product). Avoid foot or vehicle traffic until it’s fully set.
Step 6: (Optional) Apply Sealant
Use a protective sealant to enhance durability and resistance to weather or chemicals.
Types of DIY Curb Repair Kits
1. Concrete Patch Kits
Best for deeper cracks, broken edges, or rebuilding curb corners.
2. Crack Fillers
Designed for hairline or shallow cracks. Often come in squeezable tubes for precision.
3. Epoxy-Based Kits
Offer superior adhesion and durability, suitable for high-traffic areas.
4. Pre-Formed Curb Moulds
Useful if you’re replacing or reshaping larger sections of the curb. Requires a bit more skill and prep.
FAQs: DIY Curb Repair Kits
Can I use these kits for driveway or sidewalk repairs, too?
How long do the repairs last?
Can I paint or stain over the repair?
What temperature is best for applying the repair kit?
Do I need special tools?
Final Thoughts: Are DIY Curb Repair Kits Worth It?
For homeowners looking to maintain a clean and welcoming exterior on a budget, DIY curb repair kits are a practical, accessible solution. With minimal investment and effort, you can extend the life of your concrete surfaces, improve curb appeal, and protect your property from further damage.
Whether you’re prepping for a home sale or just taking pride in your curb, these kits are a simple way to make a lasting impression.