Concrete is one of the most widely used construction materials due to its strength, durability, and affordability. However, over time, concrete surfaces can develop cracks that compromise both appearance and structural integrity. Timely repair of these cracks is crucial to prevent further damage and costly repairs in the future.
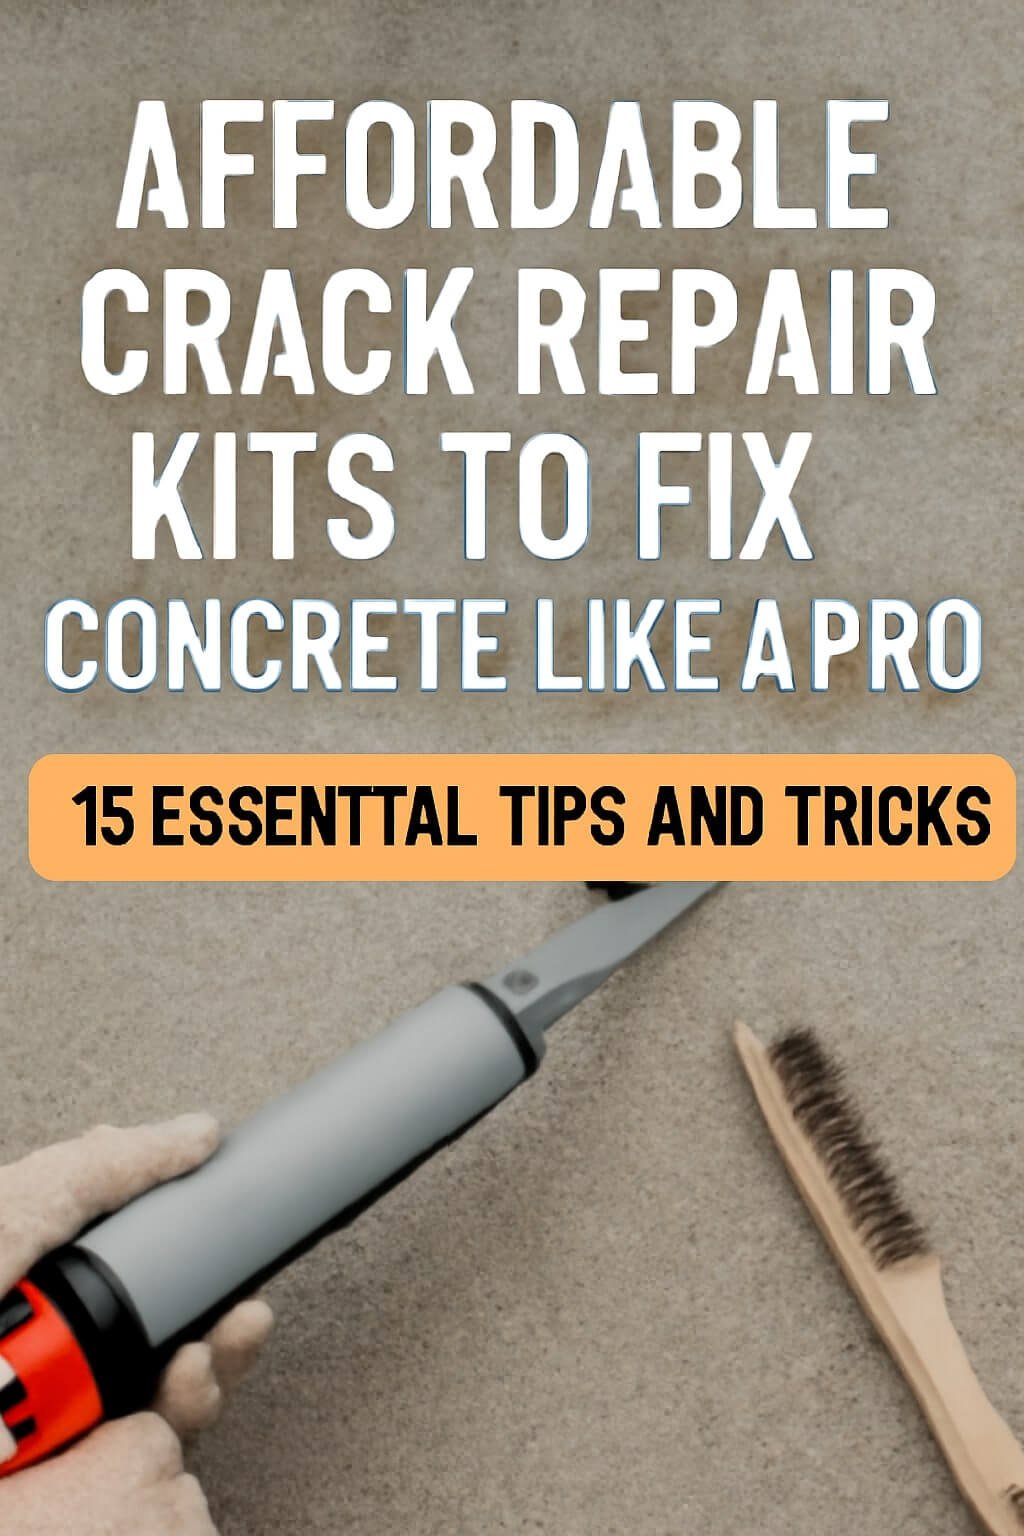
Affordable crack repair kits provide a practical solution to homeowners, DIY enthusiasts, and even professionals who want to fix concrete like a pro without breaking the bank. This article covers everything you need to know about these kits, from understanding the types of cracks to step-by-step repair instructions.
2. Understanding Concrete Cracks
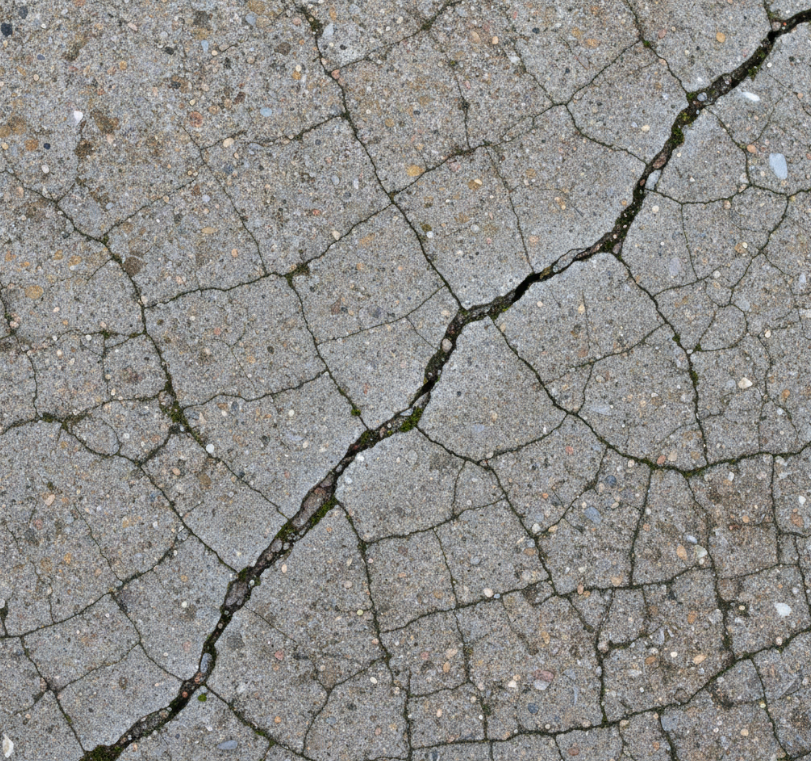
Before diving into repair, it’s important to understand what causes cracks in concrete. Cracks can form due to:
- Shrinkage: As concrete cures, it shrinks and may crack if restrained.
- Thermal expansion: Temperature changes cause concrete to expand and contract.
- Structural load: Excessive weight or ground movement can stress concrete.
- Poor installation: Improper mixing or curing can weaken the concrete.
- Environmental factors: Freeze-thaw cycles, moisture, and chemicals affect durability.
There are different crack types such as hairline, shrinkage, settlement, and structural cracks, each requiring different repair approaches.
3. Why Choose Affordable Crack Repair Kits?
Repairing concrete cracks professionally can be costly and time-consuming. Affordable crack repair kits are a smart alternative because:
- They save money on labour and materials.
- They allow for quick, convenient DIY repairs.
- They come with all necessary materials and instructions.
- They’re formulated to bond well and last long.
- They reduce the need for premature concrete replacement.
With the right knowledge and tools, you can restore your concrete surfaces with confidence.
4. How Crack Repair Kits Work
Most affordable crack repair kits consist of:
- Epoxy or polyurethane resins: These seal and bond the crack.
- Fillers or aggregates: To fill voids and provide strength.
- Applicators: Such as syringes, nozzles, or brushes for precise application.
The chemical composition allows the repair material to adhere tightly to the concrete, preventing moisture intrusion and further cracking.
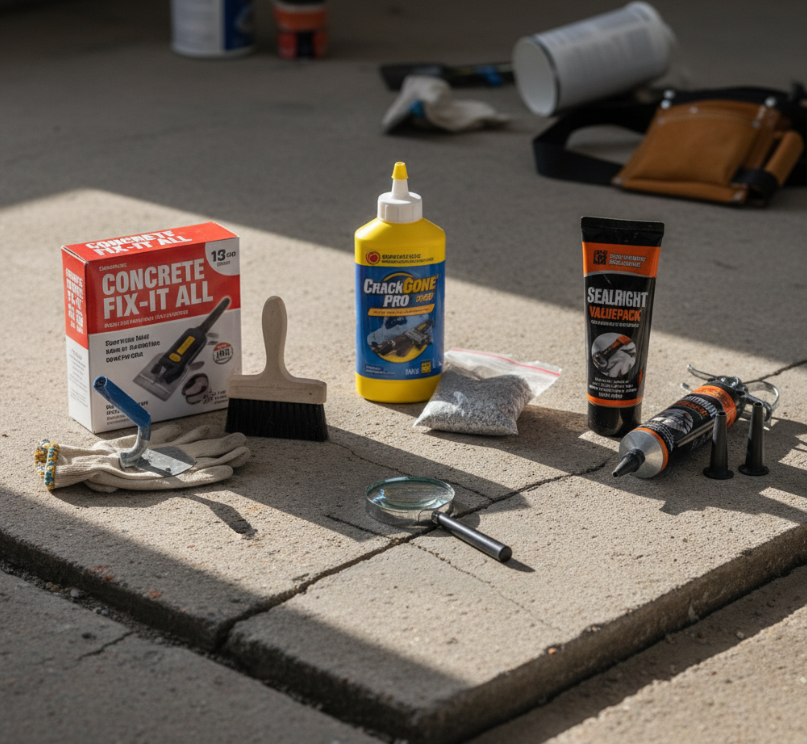
5. Essential Tools and Materials Needed
Besides the kit, you’ll need some basic tools:
- Wire brush or scraper
- Vacuum or compressed air
- Putty knife or trowel
- Safety gloves and goggles
- Mixing container (if required)
These help you prep the crack and apply the repair compound correctly.
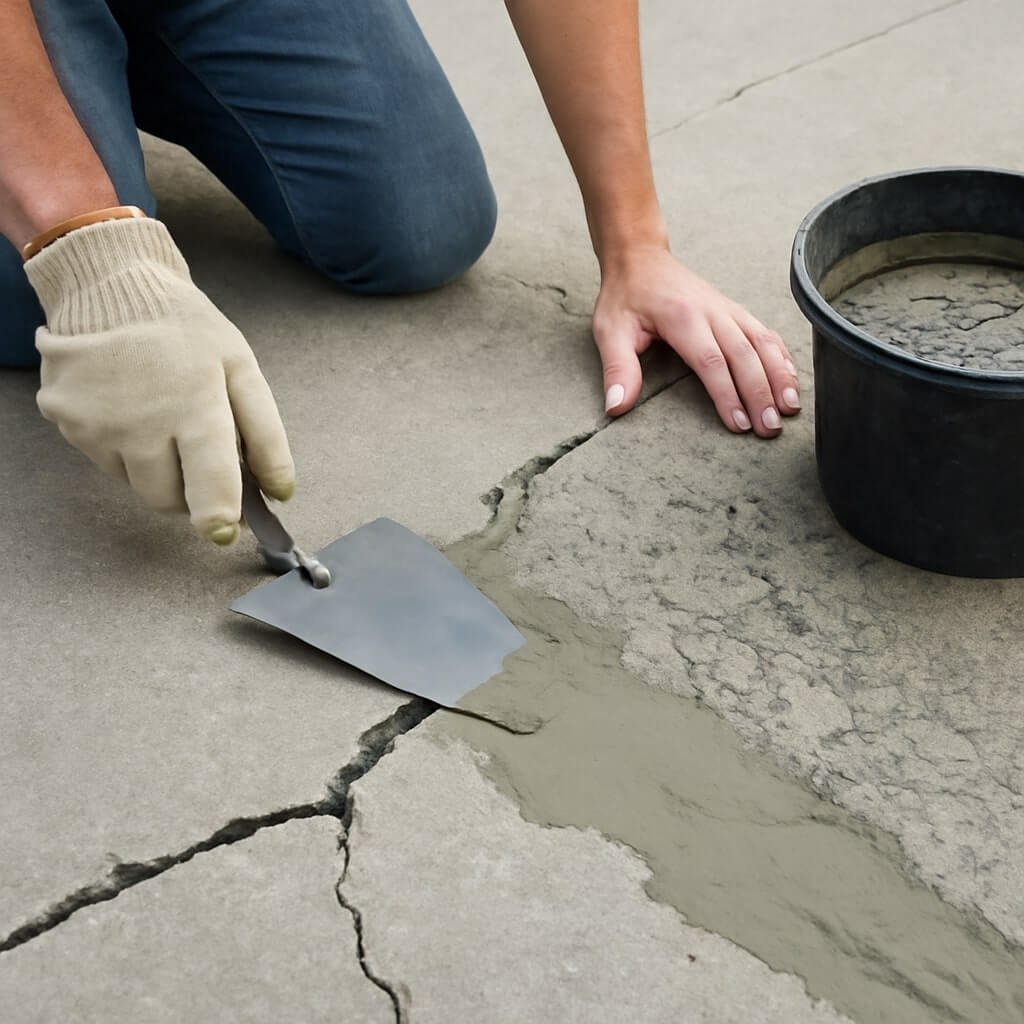
6. Step-by-Step Guide to Using Affordable Crack Repair Kits
- Clean the crack thoroughly to remove debris and dust.
- Prepare the repair compound following the manufacturer’s instructions.
- Apply the compound carefully using the applicator to fill the crack completely.
- Smooth the surface with a putty knife for a clean finish.
- Allow the repair to cure as recommended (usually 24-48 hours).
- Seal or paint if desired for extra protection and aesthetics.
7. Preparing the Surface Before Repair
Proper surface prep is critical for a successful repair:
- Remove loose concrete, dirt, and contaminants.
- Use a wire brush or vacuum to clear dust.
- Make sure the surface is dry before applying repair materials.
- For larger cracks, widen the crack slightly to ensure better adhesion.
8. Choosing the Right Repair Kit
Selecting the correct kit depends on:
- Crack size: Small hairline cracks vs. wide structural cracks.
- Location: Indoor vs. outdoor repairs.
- Usage: Walkways, driveways, or load-bearing slabs.
- Material: Some kits work better on vertical or horizontal surfaces.
Reading product reviews and specs helps narrow down options.
9. Repairing Small Cracks
For minor cracks less than 1/4 inch wide:
- Use simple epoxy or polyurethane fillers.
- Apply with a syringe or brush.
- Smooth and let cure.
- These repairs restore appearance and prevent moisture intrusion.
10. Repairing Large and Structural Cracks
For wide or deep cracks:
- Use kits with filler aggregates or patching compounds.
- Reinforce with mesh or bonding agents if needed.
- Multiple applications might be necessary.
- Consider consulting a structural engineer for severe damage.
11. Common Mistakes to Avoid
- Ignoring surface prep.
- Using the wrong kit for the crack size.
- Applying too thick or too thin layers.
- Rushing the curing process.
- Neglecting safety precautions.
Avoiding these pitfalls ensures a durable repair.
12. Maintenance After Repair
To keep concrete looking good and crack-free longer:
- Seal the repaired areas periodically.
- Avoid heavy impacts or excessive loads.
- Clean spills promptly.
- Inspect regularly for new damage.
13. Comparing Popular Affordable Crack Repair Kits
| Kit Name | Crack Size Suitable | Application Type | Price Range | Pros | Cons |
|---|---|---|---|---|---|
| Quikrete Crack Repair | Up to 1/2 inch | Outdoor/Indoor | $15-$25 | Easy application, durable | Limited for large cracks |
| Sika Concrete Fix | Hairline to 1 inch | Horizontal/Vertical | $20-$35 | Fast curing, flexible | Slightly expensive |
| DAP Concrete & Masonry Filler | Hairline to 1/4 inch | Indoor | $10-$18 | Affordable, good for small repairs | Not for structural cracks |
14. Frequently Asked Questions (FAQs)
How long do crack repair kits last?
Can I use a crack repair kit on wet concrete?
Are DIY kits strong enough for driveway repairs?
How do I know if a crack is structural?
Can I paint over repaired cracks?
Do repair kits prevent cracks from reappearing?
15. Conclusion and Final Tips
Affordable crack repair kits are excellent tools to keep your concrete surfaces in top shape. By understanding your cracks, choosing the right kit, and following proper procedures, you can fix concrete like a pro — all while saving money and time.
Don’t wait for cracks to worsen. Grab a quality repair kit, prep your surface, and restore your concrete’s strength and beauty today!