Basement cracks can pose significant risks to your home’s foundation and overall structural integrity. Addressing these cracks early with effective sealing techniques not only prevents water intrusion but also helps maintain your property’s value. This article dives deep into the 12 best basement crack sealing methods, preparation tips, maintenance advice, and common mistakes to avoid.
Understanding Basement Cracks
Before diving into the sealing techniques, it’s essential to understand the types and causes of basement cracks.
Common Causes of Basement Cracks
Basement cracks arise due to several reasons, including:
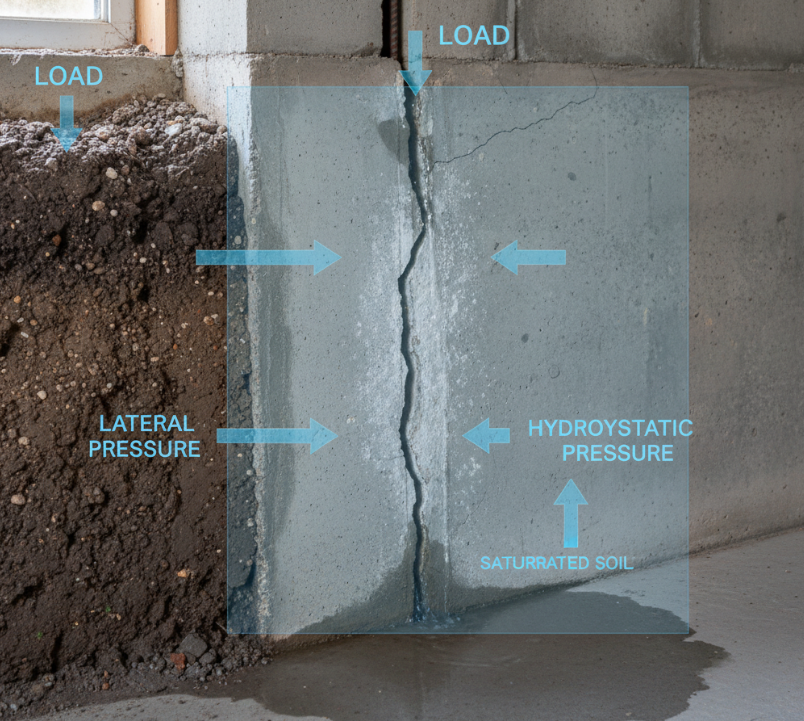
- Soil movement: Expansive or shrinking soils can shift foundations.
- Hydrostatic pressure: Water buildup around the foundation creates pressure.
- Poor construction: Subpar materials or workmanship.
- Temperature changes: Expansion and contraction of concrete.
- Tree roots: Roots growing under or near the foundation.
Types of Basement Cracks
Knowing the crack type helps determine the appropriate sealing method:
- Hairline cracks: Thin and often cosmetic.
- Horizontal cracks: More serious; may indicate pressure from outside soil.
- Vertical cracks: Usually due to settling.
- Stair-step cracks: Follow mortar joints in brick or block walls.
Why Sealing Basement Cracks is Crucial
Sealing basement cracks helps to:
- Prevent water infiltration that can cause mould and mildew.
- Maintain structural integrity.
- Avoid costly repairs due to foundation damage.
- Enhance home energy efficiency by blocking drafts.
- Increase home resale value.
Preparation Before Sealing Basement Cracks
Preparation is key to a successful repair.
Cleaning the Crack
Remove loose debris, dirt, and paint with wire brushes or vacuum tools. A clean surface ensures better adhesion.
Inspecting for Moisture
Check for wet spots, efflorescence (white powdery residue), or damp smells. Address moisture issues before sealing.
Top 12 Basement Crack Sealing Techniques
1. Epoxy Injection
Epoxy injection is a durable, long-lasting solution for structural cracks. It fills cracks, restoring the wall’s strength and preventing moisture.
2. Polyurethane Foam Injection
Polyurethane foam expands inside the crack to seal and waterproof. It’s flexible and excellent for leaks, but less structural than epoxy.
3. Hydraulic Cement
Hydraulic cement sets quickly and expands as it cures, making it perfect for active leaks and larger cracks.
4. Silicone Sealant
Silicone is waterproof and flexible, good for hairline cracks and non-structural repairs.
5. Concrete Patch Repair
Used for wider cracks, this involves filling cracks with a concrete-based patch for durability.
6. Hydraulic Sealants
Specialised sealants that react chemically to harden and block water paths.
7. Crack Stitching with Steel Bars
Involves installing steel bars across cracks for structural reinforcement, ideal for serious foundation issues.
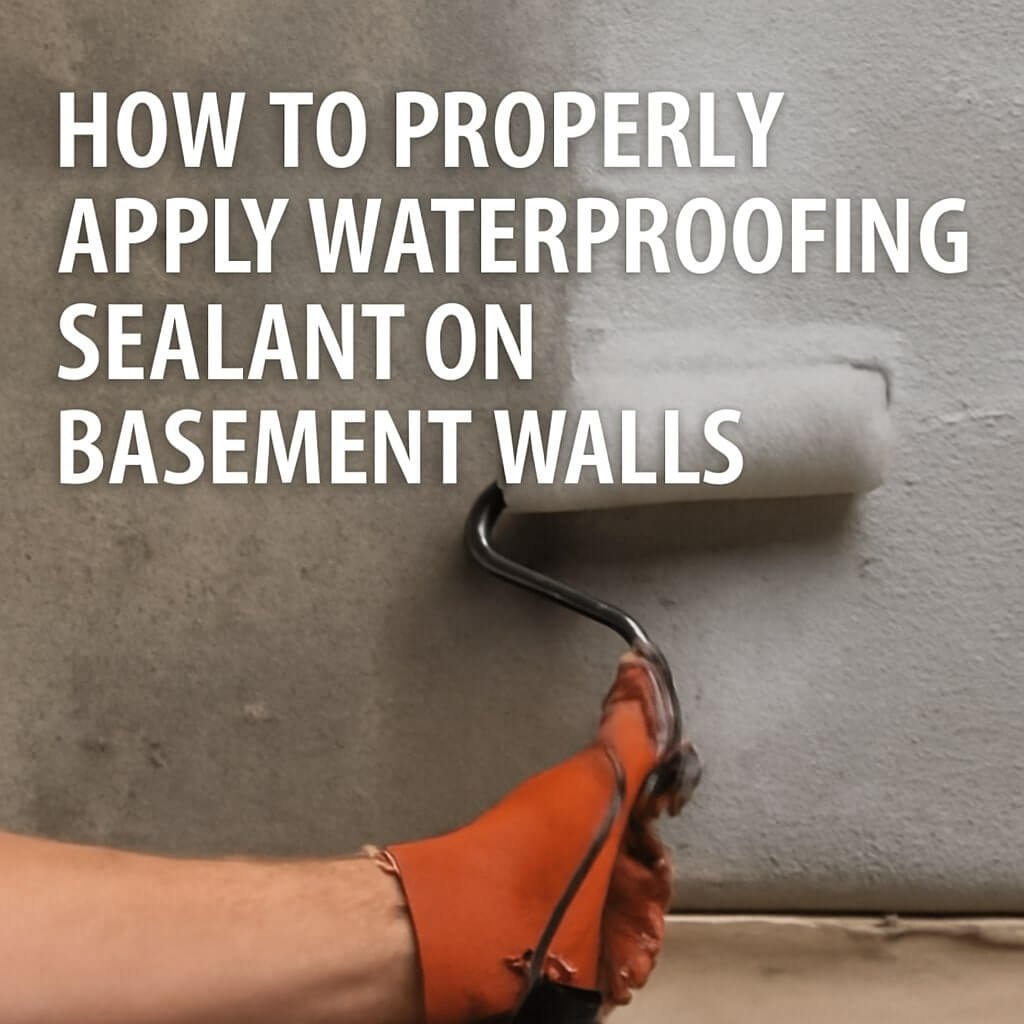
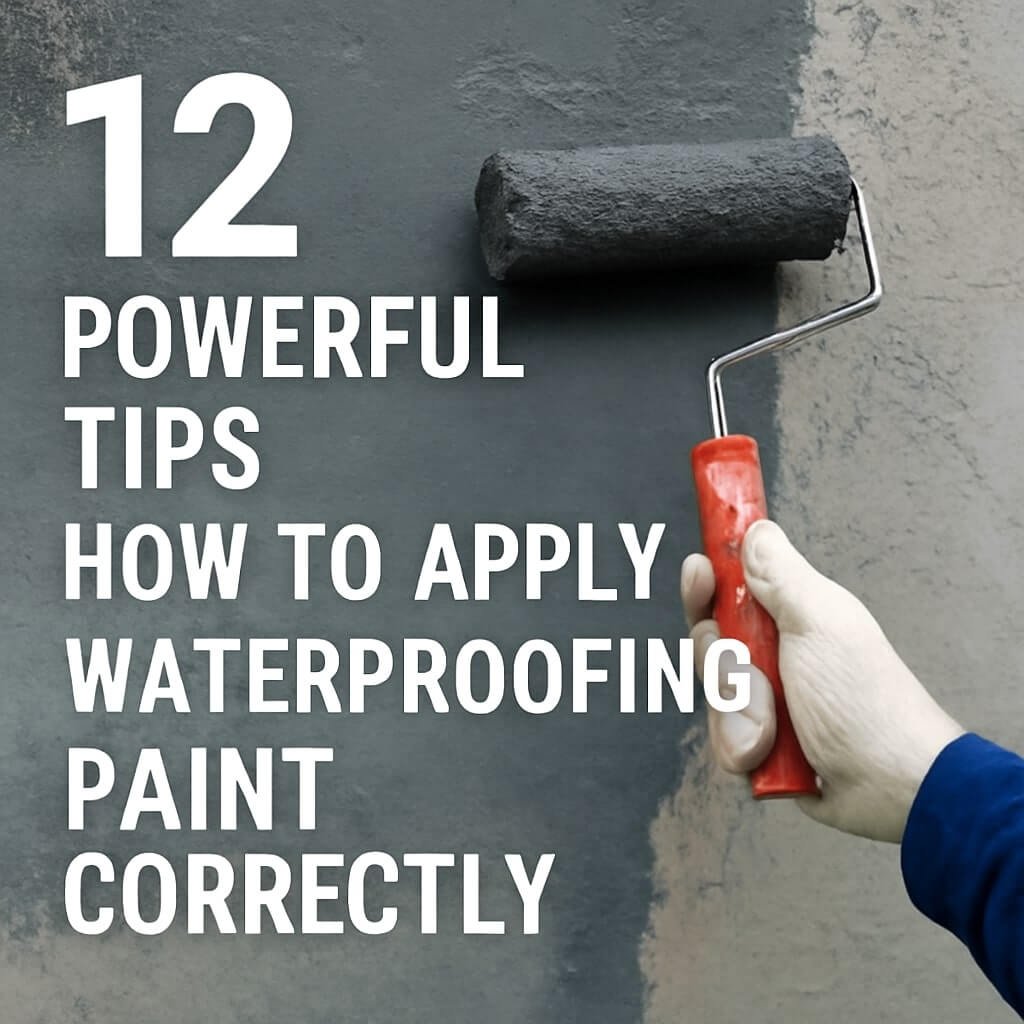
8. Exterior Waterproofing
Applying waterproof membranes or coatings on the outside foundation walls prevents water from entering.
9. Interior Sealants and Coatings
Sealants applied inside create moisture barriers that protect from minor leaks and dampness.
10. Drainage System Improvements
Installing or repairing gutters, downspouts, and French drains reduces water pressure on foundations.
11. Carbon Fibre Reinforcement
Carbon fibre strips applied to walls strengthen weakened structures without major excavation.
12. DIY vs Professional Services
DIY methods may suffice for minor cracks, but professional inspection and repair are essential for structural cracks.
Tools and Materials Needed for Basement Crack Sealing
- Wire brush
- Vacuum cleaner
- Epoxy resin kit
- Polyurethane foam kit
- Hydraulic cement
- Silicone sealant tube
- Concrete patch mix
- Steel bars and stitching tools
- Waterproof membranes
- Carbon fibre strips
- Protective gear (gloves, goggles)
Common Mistakes to Avoid When Sealing Basement Cracks
- Sealing without cleaning or drying cracks.
- Ignoring underlying moisture problems.
- Using the wrong sealing material for the crack type.
- Skipping structural inspection for major cracks.
- Not monitoring repaired cracks over time.
Maintenance Tips After Crack Sealing
- Regularly inspect the basement walls for new or worsening cracks.
- Keep gutters and drainage clear to prevent water buildup.
- Control indoor humidity to reduce moisture.
- Apply sealant touch-ups as needed.
Frequently Asked Questions (FAQs)
1. How do I know if a basement crack is serious?
2. Can I seal basement cracks myself?
3. How long does crack sealing last?
4. Will sealing cracks fix foundation problems?
5. What causes new cracks after sealing?
6. Is exterior waterproofing necessary if I seal cracks inside?
Conclusion
Effective basement crack sealing is essential for protecting your home from water damage and maintaining structural strength. Understanding crack types, choosing the right sealing technique, and following proper preparation and maintenance ensure long-lasting results. Whether opting for DIY or professional services, timely action can save significant repair costs down the road.