Basement waterproofing is critical in protecting your home’s foundation from water damage. Installing basement waterproofing membranes is one of the most effective ways to safeguard your space. This article offers expert tips for installing basement waterproofing membranes, sharing 15 proven techniques to ensure a durable, watertight barrier beneath your home.
Introduction to Basement Waterproofing Membranes
Water intrusion in basements can lead to structural damage, mould growth, and a host of costly repairs. That’s why waterproofing membranes are essential—they act as a shield, preventing moisture from seeping into your basement walls and floors. But not all membranes are created equal, and installation quality can make or break their effectiveness.
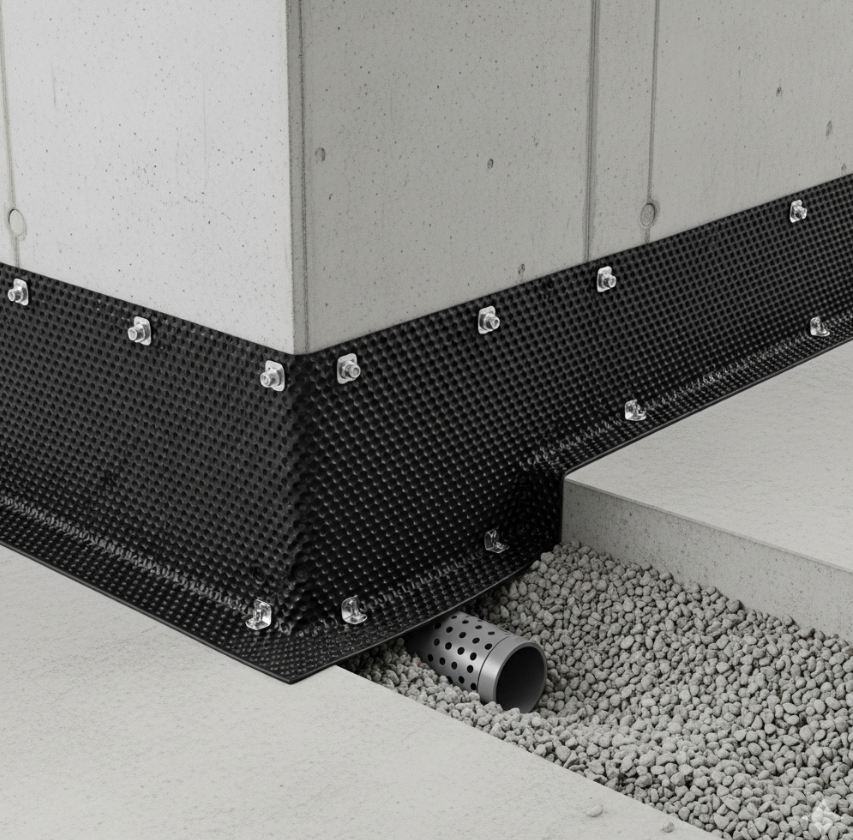
The term “basement waterproofing membranes” refers to thin layers of waterproof material applied to basement walls and floors, usually on the exterior or interior side. These membranes create a barrier that blocks water and vapour from penetrating concrete or masonry. When installed correctly, they protect the basement from humidity, flooding, and dampness for years.
Understanding the right type of membrane and mastering installation steps can seem overwhelming. Yet, with the right guidance, you can achieve excellent results that protect your home and improve its value.
Understanding Different Types of Waterproofing Membranes
Before installation, knowing the type of membrane that suits your basement conditions is vital. The three primary types of basement waterproofing membranes include:
- Sheet Membranes: These are pre-formed sheets made from materials like rubberised asphalt or polyethylene. They are durable and provide excellent waterproofing, but require precise installation and surface preparation.
- Liquid Membranes: Applied as a liquid coating, they cure to form a seamless, flexible waterproof barrier. Liquid membranes adapt well to irregular surfaces and complex corners.
- Bentonite Clay Membranes: Made from natural clay that swells on contact with water, creating a self-sealing barrier. This eco-friendly option is ideal in some situations but may require additional protection.
Each type has advantages depending on basement design, soil conditions, and budget. For example, sheet membranes are often used for new construction due to their robustness, while liquid membranes are popular for retrofits.
Preparing Your Basement for Membrane Installation
Proper surface preparation is the backbone of successful waterproofing. Here are key steps to prep your basement walls and floors:
- Clean thoroughly: Remove dirt, dust, paint, and loose debris. Use a wire brush or pressure washer if needed.
- Inspect for damage: Check for cracks, holes, or spalling concrete. Repair these with hydraulic cement or epoxy fillers.
- Ensure dryness: Membranes adhere best to dry surfaces. Use fans or dehumidifiers to eliminate moisture.
- Smooth the surface: Fill surface irregularities and level uneven areas to ensure membrane uniformity.
Skipping these steps can cause membrane failure or water infiltration later on.
Tools and Materials Needed for Installation
Having the right tools and materials on hand makes installation efficient and reliable. Here’s a checklist:
- Waterproofing membrane (sheet or liquid)
- Primer (if required)
- Utility knife or scissors (for sheet membranes)
- Roller or brush (for liquid membranes and primers)
- Trowel (for patching cracks)
- Caulk or sealant
- Protective gloves and goggles
- Measuring tape and chalk line
- Cleaning supplies (wire brush, broom)
- Fan or dehumidifier
With your workspace clean and organised, installation goes smoothly.
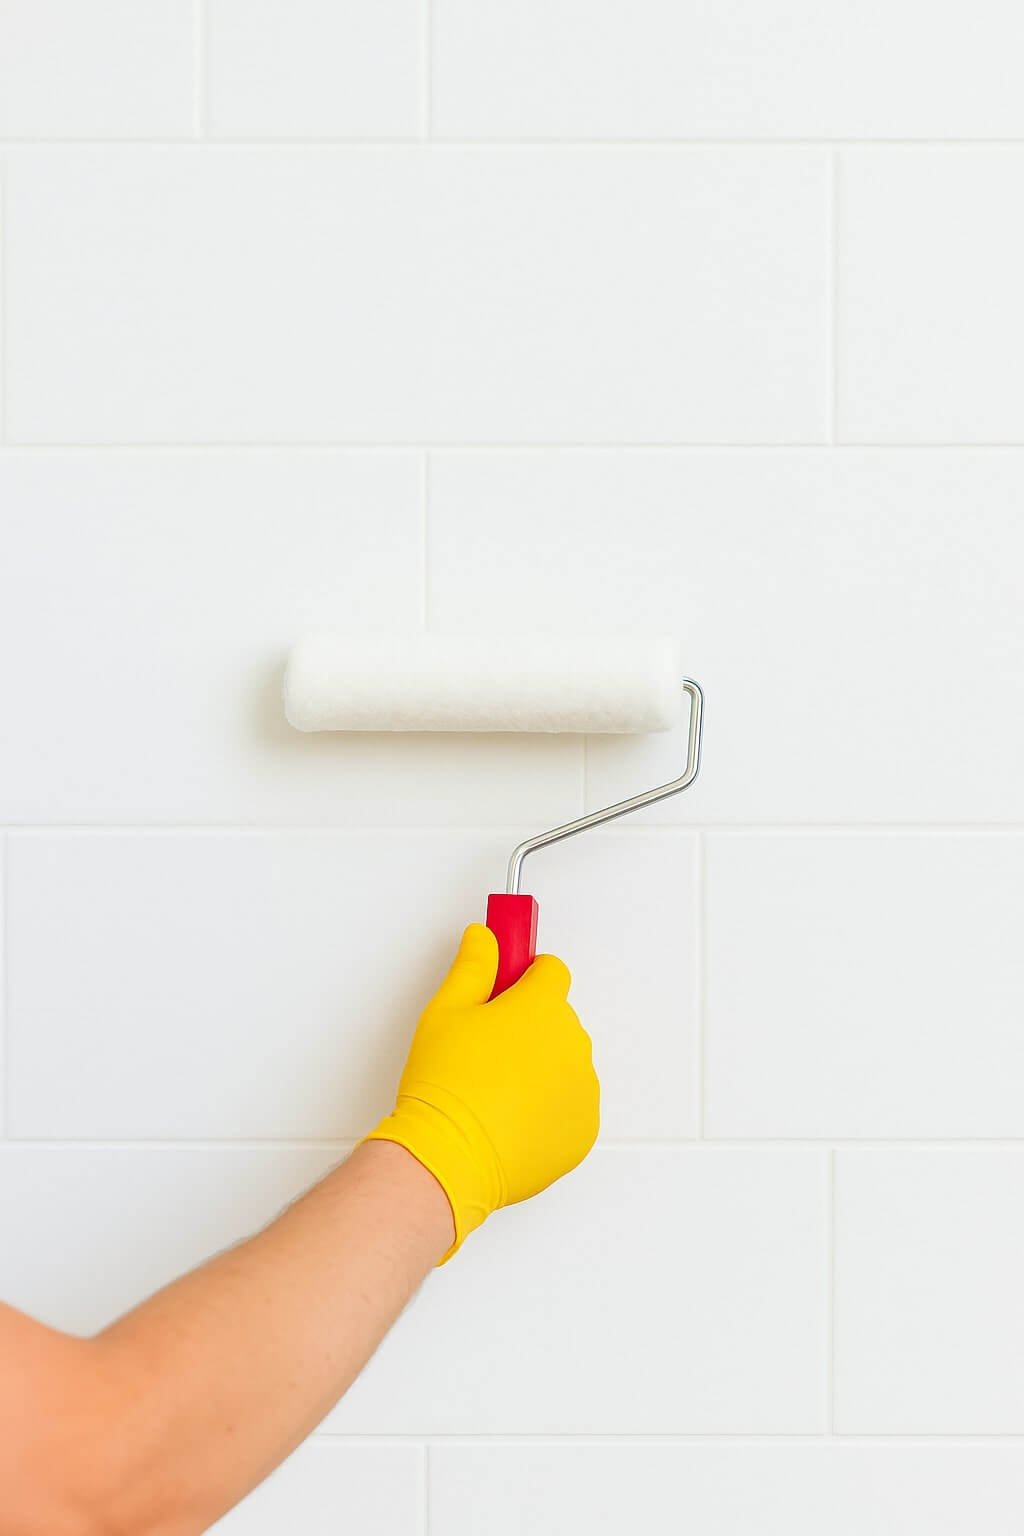
Step-by-Step Guide to Installing Basement Waterproofing Membranes
- Apply primer (if the manufacturer recommends) to enhance adhesion.
- Measure and cut sheet membranes to fit walls precisely.
- Start at the bottom of the wall and work upwards, pressing the membrane firmly onto the surface.
- Overlap seams by several inches and seal with manufacturer-recommended adhesive or tape.
- For liquid membranes, apply evenly with a roller or brush in multiple coats.
- Seal corners and joints carefully, as these are common leak points.
- Allow the membrane to cure as per instructions before backfilling or finishing walls.
Proper technique and attention to detail ensure a watertight seal.
Common Mistakes to Avoid During Installation
Even seasoned DIYers can make errors that compromise waterproofing:
- Installing membranes on wet or dirty surfaces
- Skipping primer application when needed
- Failing to seal seams and edges completely
- Not overlapping sheets correctly
- Applying membranes too thinly or unevenly
- Ignoring cracks and surface damage before installation
Avoiding these mistakes improves membrane longevity and performance.
Maintenance Tips for Waterproof Membranes
A waterproof membrane isn’t “set and forget.” Regular inspections and maintenance keep it effective:
- Inspect annually for tears or bubbles
- Repair minor damage immediately with patch kits
- Keep drainage systems clean to prevent water pressure buildup
- Monitor basement humidity levels to detect leaks early
Proactive maintenance extends your waterproofing’s lifespan.
How to Inspect Your Basement After Installation
Post-installation inspection ensures your work stands the test of time:
- Look for any signs of moisture seepage or dampness
- Check all seams and edges for lifting or peeling
- Use a moisture meter for thorough wall and floor testing
- Monitor the basement during and after heavy rains
Detecting problems early helps prevent costly repairs.
Cost Considerations and Budgeting for Waterproofing
Basement waterproofing membrane costs vary widely depending on:
- Membrane type and quality
- Basement size and condition
- Labor costs (DIY vs professional)
- Additional repairs and surface preparation
On average, membrane installation ranges from $3 to $10 per square foot. Investing in quality materials and proper installation saves money over time.
Environmental Impact of Waterproofing Membranes
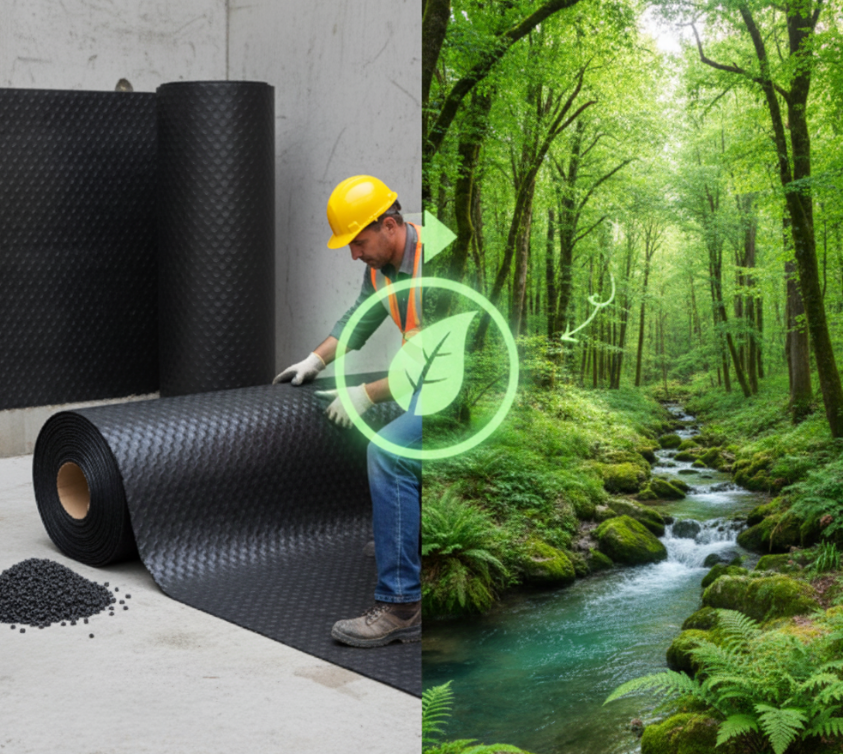
Sustainable waterproofing is gaining attention. Consider these factors:
- Choose eco-friendly membranes like bentonite clay or low-VOC liquid membranes.
- Proper disposal of old materials prevents environmental harm.
- Use membranes with recycled content where possible.
Eco-conscious choices benefit both your home and the planet.
Comparing DIY vs Professional Installation
While DIY installation can save money, professional installers bring expertise that reduces risks. Consider:
- DIY if you have experience, time, and tools.
- Professional installation for complex basements or large projects.
- Professionals often offer warranties and compliance with local codes.
Weigh your skills and budget to decide the best approach.