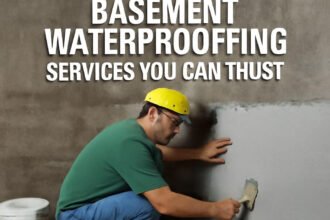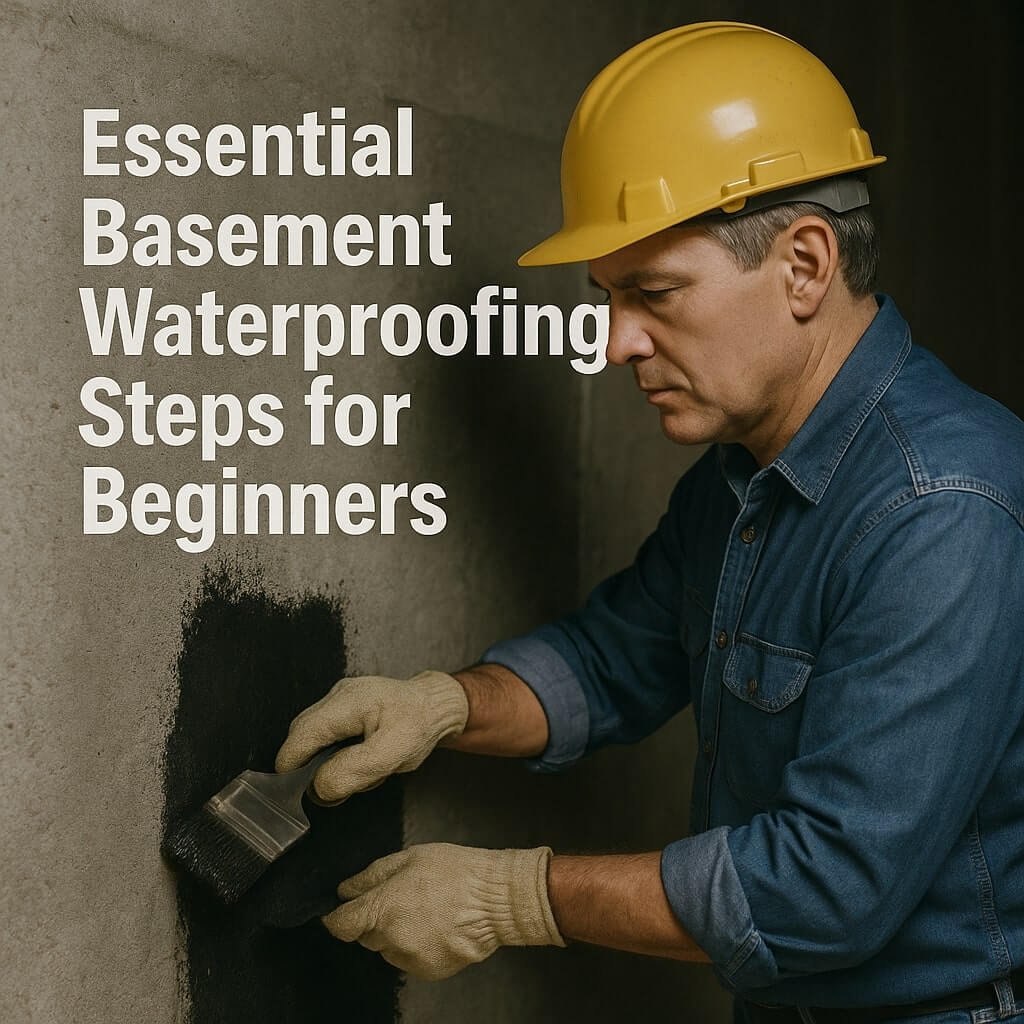
Water damage in basements is a common but preventable problem. Essential basement waterproofing steps for beginners can save your home from costly repairs and maintain a healthy living environment. This comprehensive guide will walk you through 15 powerful tips, from inspection to maintenance, ensuring your basement stays dry and protected. Whether you’re tackling minor moisture issues or preparing for a full waterproofing project, these steps are your foundation for success.
Understanding the Importance of Basement Waterproofing
Basement waterproofing isn’t just about stopping water — it’s about protecting your home’s structure and your family’s health. Water infiltration can cause mould, mildew, and even structural damage over time. By understanding why waterproofing is essential, beginners can prioritise effective solutions rather than temporary fixes. A well-waterproofed basement adds value to your home and creates usable space free from dampness.
Common Causes of Basement Water Problems
Before diving into waterproofing, knowing the root causes of basement water problems helps tailor the right approach. Some common issues include:
- Poor exterior grading is causing water to pool near the foundation.
- Cracks and gaps in the basement walls allow seepage.
- Clogged gutters leading to overflow near the home.
- High groundwater levels around the property.
- Lack of drainage systems inside or outside the basement.
Identifying your basement’s vulnerabilities early can save time and money.
Step 1: Inspecting Your Basement for Water Entry Points
Start your waterproofing journey with a thorough inspection. Look for signs such as water stains, mould patches, efflorescence (white powdery deposits), and musty odours. Check all walls, floors, windows, and joints carefully.
Tools you might need include a flashlight, a moisture meter, and a camera to document problem areas. Note areas with visible cracks or damp spots to target repairs effectively.
Step 2: Cleaning and Preparing the Basement Walls
Before applying waterproof materials, cleaning your basement walls is crucial. Dirt, grease, and old paint can prevent sealants from adhering properly.
Use a stiff brush and a mild detergent solution to scrub walls. Rinse thoroughly and let the surfaces dry completely. This prep work ensures the waterproof coatings bond well for maximum effectiveness.
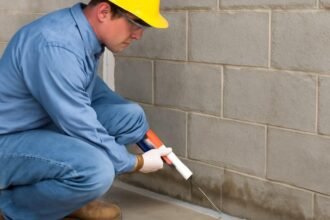
Step 3: Repairing Cracks and Gaps in Basement Walls
Cracks are the primary pathways for water intrusion. Use hydraulic cement or masonry caulk to fill in any cracks or gaps. For larger cracks, consider epoxy injections for a durable seal.
Make sure to follow manufacturer instructions for drying times and layering. Proper crack repair prevents leaks and adds structural integrity to your basement walls.
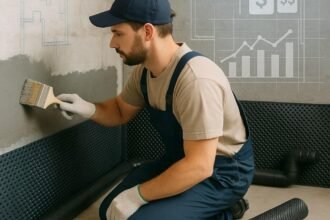
Step 4: Applying Waterproof Coatings and Sealants
After repairs, apply waterproof coatings or sealants specifically designed for basements. These products create a barrier that repels water.
Popular options include liquid rubber coatings, waterproof paints, and cementitious coatings. Apply multiple coats as recommended, and focus on vulnerable spots like corners and joints.
Step 5: Installing a Basement Drainage System
If your basement suffers from persistent water problems, installing an interior drainage system can be a game-changer. These systems collect water that seeps through walls or floors and direct it to a sump pump.
This prevents water from pooling and reduces pressure on your foundation. Although installation can be complex, the benefits in water management are significant.
Step 6: Using Interior Drainage Channels
Interior drainage channels or French drains run along the perimeter of your basement floor. They collect water entering the basement and funnel it to a sump pit.
This solution works well in conjunction with sump pumps and is especially effective in older homes with no exterior drainage.
Step 7: Maintaining Gutters and Downspouts
Gutters and downspouts direct rainwater away from your foundation. Clogged gutters can cause overflow, leading to water pooling around your basement walls.
Regularly clean gutters, check for leaks, and ensure downspouts extend at least 6 feet away from your home to protect the basement.
Step 8: Improving Exterior Grading Around Your Home
Proper grading ensures that rainwater flows away from your house rather than towards it. The ground should slope away at a rate of about 1 inch per foot for the first 6 to 10 feet.
This simple landscaping adjustment reduces hydrostatic pressure against your foundation walls and minimises water entry.
Step 9: Installing a Sump Pump for Water Removal
A sump pump is essential in areas with high groundwater or frequent heavy rains. It collects water in a sump basin and pumps it out away from your home.
Choose a reliable sump pump model, install a battery backup for power outages, and test it regularly to ensure functionality.
Step 10: Considering Exterior Waterproofing Solutions
Exterior waterproofing involves excavating around your home to apply waterproof membranes or coatings to the outside of your foundation walls.
Though more labour-intensive and costly, it’s highly effective for severe water problems. It’s often combined with exterior drainage systems like French drains.
Step 11: Using Dehumidifiers to Control Moisture
Even with waterproofing, humidity can linger. Dehumidifiers help maintain indoor air quality and prevent mold growth by reducing moisture levels in the basement.
Place a dehumidifier in your basement and empty or maintain it regularly to keep the environment dry and comfortable.
Step 12: Inspecting and Maintaining Your Waterproofing System
Waterproofing isn’t a set-it-and-forget-it project. Regular inspection and maintenance keep your system effective over time.
Check for new cracks, peeling coatings, or malfunctioning sump pumps. Address problems early to avoid costly repairs later.
Step 13: When to Call a Professional
Some waterproofing tasks require specialised knowledge or tools. If your basement flooding issues persist despite DIY efforts, it’s wise to consult a professional waterproofing contractor.
Professionals can diagnose hidden problems and implement comprehensive solutions, saving you time and stress.
Frequently Asked Questions (FAQs)
1. How often should I waterproof my basement?
2. Can I waterproof my basement myself?
3. Will waterproofing increase my home’s value?
4. What is the difference between waterproofing and damp-proofing?
5. Can landscaping affect basement water problems?
6. Are sump pumps noisy?
Conclusion: Staying Ahead with Basement Waterproofing
Taking essential basement waterproofing steps for beginners protects your home from water damage, preserves its value, and ensures a healthier living environment. From inspecting your basement and repairing cracks to installing drainage systems and maintaining your waterproofing, each step builds on the last for effective, long-term protection. Remember, regular upkeep and timely professional help can save you from costly repairs and stress. Stay proactive, and keep your basement dry!