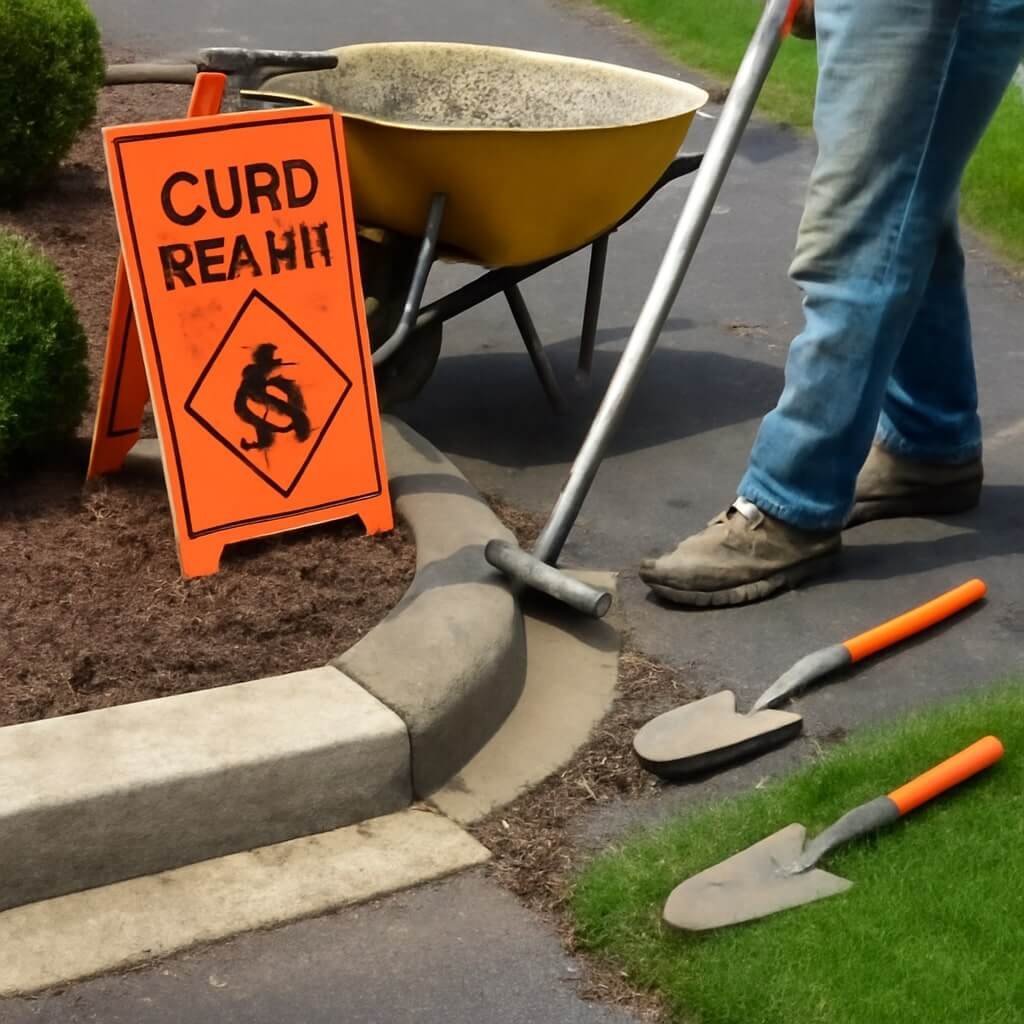
Curb repair might seem like a minor task, but damaged curbs can reduce property value, create tripping hazards, and even lead to city code violations. Whether you’re a DIY enthusiast or a professional contractor, having the right tools is crucial for a smooth and durable curb repair job. This comprehensive guide covers all the essential tools you need for effective, time-saving curb repair, helping you save money and achieve professional-level results.
Why Proper Tools Matter in Curb Repair
Curbs are exposed to harsh weather, vehicle contact, and soil movement. Repairing them without the right tools can lead to:
- Weak patches that crumble under pressure
- Poor alignment or finish
- Longer working time and higher costs
Having the correct tools ensures:
- Clean cuts and joints
- Smooth, uniform finish
- Increased longevity of the repaired curb
Essential Tools for Easy and Effective Curb Repair
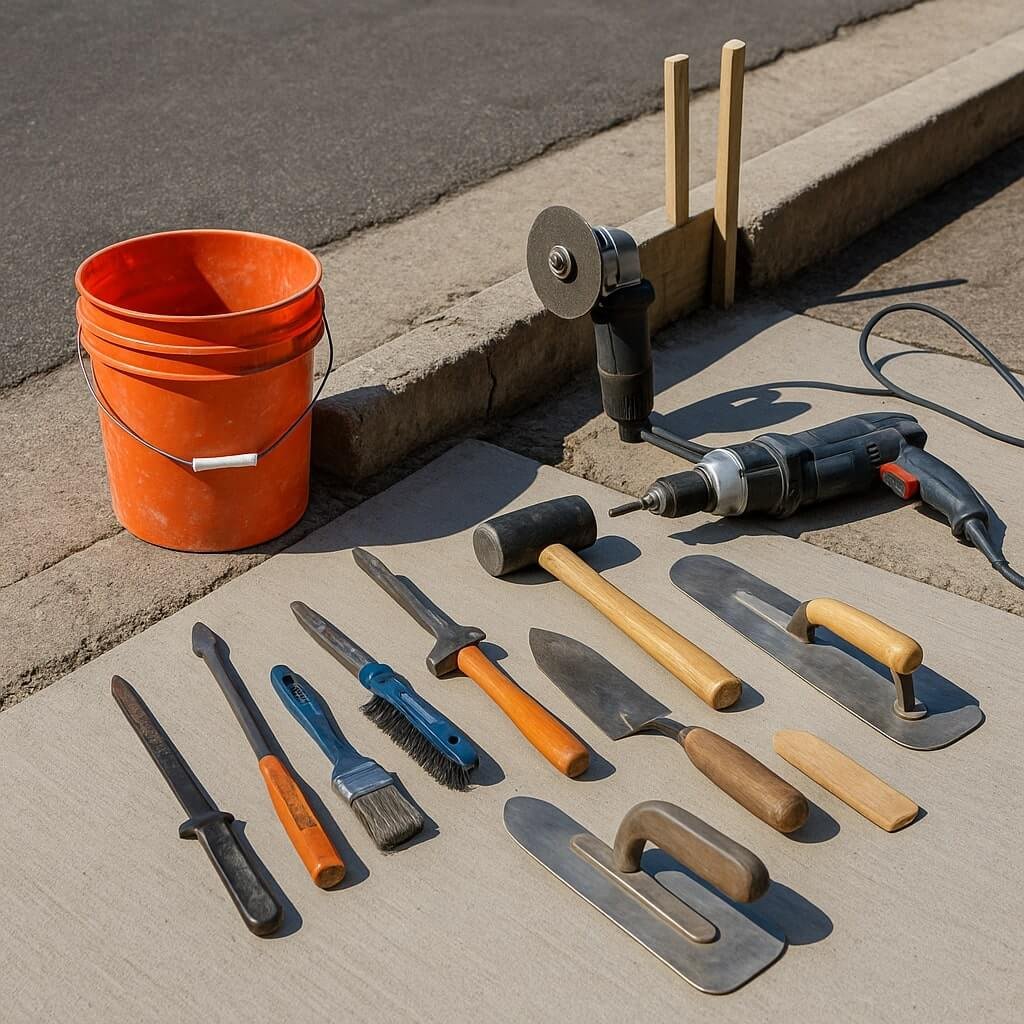
1. Concrete Chisel and Hammer
Before you start patching, it’s important to remove loose or crumbling concrete. A concrete chisel helps you chip away damaged sections cleanly, while a heavy-duty hammer provides the necessary force.
2. Angle Grinder or Concrete Saw
Use an angle grinder (fitted with a diamond blade) or a concrete saw to make precise cuts around the damaged area. This prevents cracks from spreading and creates a stable bonding edge.
3. Wire Brush and Air Blower
Once you’ve removed the old material, a wire brush is essential to scrub the repair area clean of debris. Follow up with an air blower to remove dust, ensuring strong adhesion for your new material.
4. Form Boards and Stakes
If you’re reconstructing curb sections, you’ll need form boards (usually plywood or plastic) to shape the concrete. Stakes and clamps hold them in place until the material sets.
5. Trowels (Flat and Curb-Specific)
A finishing trowel helps smooth flat surfaces, while a curb trowel is specifically shaped to create rounded edges and a polished curb finish.
6. Mixing Tools (Bucket, Hoe or Paddle Mixer)
Depending on your batch size, use a mixing bucket with a hoe or a power paddle mixer attached to a drill to achieve a consistent concrete or patch mix.
7. Bonding Agent and Concrete Repair Mix
Choose a high-quality bonding agent to ensure your patch adheres to the old concrete. Then, use a suitable repair mortar or fast-setting concrete mix for the actual fill.
8. Float and Edger Tools
A magnesium float smooths the surface and brings cream to the top for finishing. An edger tool helps create professional-looking borders and minimises chipping at the edges.
9. Curing Blankets or Plastic Sheeting
Proper curing is key for durability. Use curing blankets or plastic sheets to retain moisture, especially in hot or windy weather.
10. Safety Gear (Gloves, Eye Protection, Mask)
Always wear gloves, safety glasses, and a dust mask to protect yourself from cement dust, flying debris, and chemical exposure.
Optional But Helpful Tools
- Concrete Vibrator: Removes air pockets for a stronger finish.
- Sledgehammer: Useful for larger demolition work.
- Level and Straightedge: Ensures accurate alignment with the existing curb.
Pro Tips for Easy Curb Repair
- Always wet the old concrete before applying the new mix to avoid water absorption that weakens the bond.
- For patching small cracks, consider using a polyurethane-based sealant that expands with temperature.
- Start repairs early in the morning or late in the afternoon to avoid working under direct sunlight, which causes rapid drying and cracking.
Frequently Asked Questions (FAQs)
Can I repair a curb without breaking the damaged section?
How long does curb repair take?
What is the best mix for curb repair?
Do I need a permit for curb repair?
Can I reuse old forms for multiple repairs?
Final Thoughts
Curb repair doesn’t have to be a complex task — with the right tools and a solid understanding of the process, even challenging repairs become manageable. Whether you’re fixing cracks, resurfacing, or rebuilding curb sections, equipping yourself properly can mean the difference between a short-lived patch and a professional, long-lasting repair.
If you’re planning a curb repair soon, use this guide as a checklist to gather all necessary tools before you begin and ensure every repair you make stands the test of time.