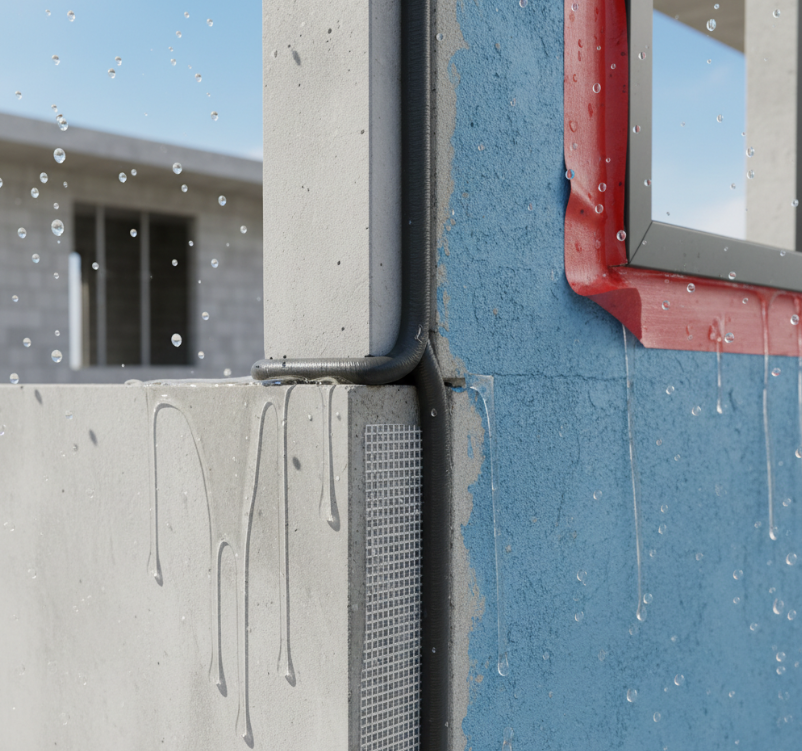
Waterproofing basement walls is a critical home maintenance task that every homeowner should prioritise. Basements are notorious for being vulnerable to moisture infiltration, which can lead to structural damage, mould growth, and unhealthy indoor air quality. Applying a high-quality waterproofing sealant on basement walls creates a protective barrier, preventing water seepage and preserving the integrity of your home.
Many people underestimate the importance of basement waterproofing until they start noticing damp patches, musty odours, or visible mould. Taking proactive steps to waterproof your basement walls not only improves the safety and comfort of your living space but also boosts your property’s value.
Understanding Waterproofing Sealants
Not all waterproofing sealants are created equal. Choosing the right sealant depends on your basement’s condition, the materials used in the walls, and the level of moisture exposure. Understanding the types of waterproofing sealants available can help you make an informed decision.
Cementitious Sealants
Cementitious sealants are among the most common and budget-friendly options. They are made from cement-based compounds that bond well with concrete and masonry surfaces. These sealants create a hard, durable coating that blocks moisture penetration. They’re easy to apply and often recommended for DIY projects. However, they tend to be less flexible, which means they may crack under structural movement.
Liquid Rubber Sealants
Liquid rubber waterproofing sealants are highly flexible and form a seamless rubberised membrane on the surface. This flexibility allows them to expand and contract with the basement walls, preventing cracks and leaks. Liquid rubber is also resistant to UV rays and chemicals, making it ideal for both interior and exterior applications.
Polyurethane Sealants
Polyurethane sealants offer superior adhesion and elasticity. They penetrate deep into cracks and pores, sealing off potential water pathways. Because of their excellent resistance to moisture and chemicals, polyurethane sealants are often preferred for basements experiencing heavy water intrusion. These sealants tend to be more expensive and may require professional application.
Why Waterproof Your Basement Walls?
Waterproofing basement walls protects your home from several costly issues. Moisture infiltration can weaken foundation walls, cause drywall damage, promote mould and mildew growth, and trigger unpleasant odours. Proper waterproofing ensures a dry, healthy basement environment, reduces energy bills by improving insulation, and safeguards your home’s value.
Signs That Your Basement Needs Waterproofing
Before starting any waterproofing project, it’s crucial to identify if your basement truly needs it. Look out for:
- Damp spots on walls or floors
- Musty smells or visible mould patches
- Efflorescence, a white powdery residue on walls
- Cracks or peeling paint on basement walls
- Water stains or pooling water after heavy rains
If you notice one or more of these signs, it’s time to consider applying a waterproofing sealant.
Essential Tools and Materials You’ll Need
To apply waterproofing sealant effectively, gather the following:
- Waterproofing sealant (appropriate type for your walls)
- Wire brush or stiff-bristle brush
- Power washer or garden hose with spray nozzle
- Putty knife or trowel for crack repair
- Caulk gun and polyurethane caulk
- Paint roller or brush
- Protective gloves and safety goggles
- Respirator or mask (especially for solvent-based sealants)
- Drop cloths or plastic sheeting
- Ladder (for taller walls)
Preparing Basement Walls for Waterproofing Sealant
Proper preparation is the foundation of a successful waterproofing job. It ensures the sealant adheres well and performs optimally.
Cleaning Techniques
First, clean the basement walls thoroughly. Use a wire brush or power washer to remove dirt, dust, mould, efflorescence, and loose paint. Pay special attention to areas with visible mildew. For stubborn stains, a mixture of bleach and water can help disinfect and prepare the surface.
Crack Repair Methods
Inspect the walls for cracks and gaps. Small cracks should be cleaned and filled with polyurethane caulk or a hydraulic cement patch. For larger cracks, apply a cementitious patch and allow it to dry completely before sealing.
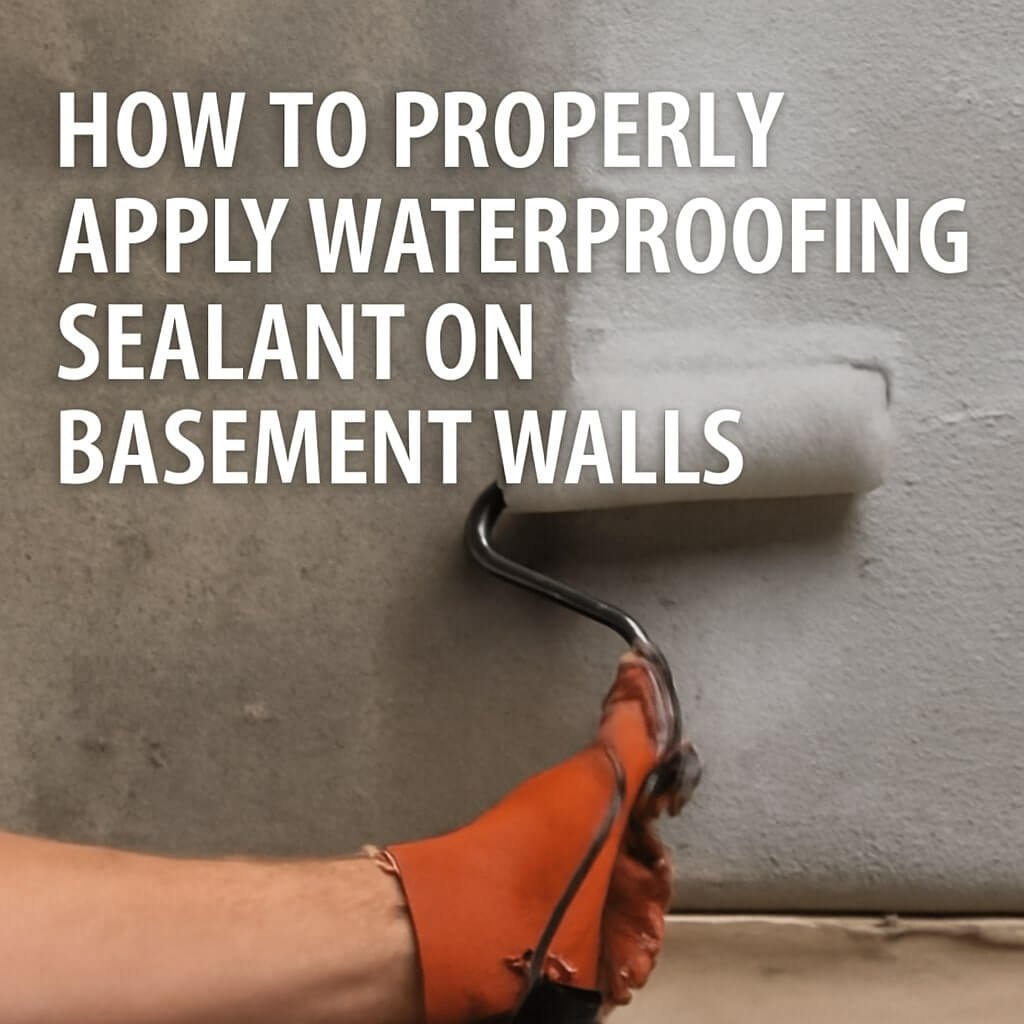
Step-by-Step Guide to Applying Waterproofing Sealant
Here’s the ultimate guide to applying waterproofing sealant on your basement walls properly.
Step 1: Inspection and Surface Preparation
Check the walls for moisture and structural damage. Make sure all cleaning and crack repairs are complete and dry.
Step 2: Mixing the Sealant
If your sealant requires mixing (common with cementitious types), follow manufacturer’s instructions precisely. Use a clean container and mix thoroughly for an even consistency.
Step 3: Applying the First Coat
Using a roller or brush, apply the first coat of waterproofing sealant evenly, starting from the bottom of the wall and moving upwards. Avoid dripping or pooling.
Step 4: Applying Additional Coats
Allow the first coat to dry according to product guidelines. Most projects require at least two coats. Apply the second coat perpendicular to the first to ensure full coverage.
Step 5: Drying and Curing Time
After the final coat, let the sealant cure fully before exposing the wall to moisture or finishing with paint or drywall. This curing period can range from 24 hours to several days.
Common Mistakes to Avoid During Application
- Skipping surface preparation
- Applying sealant on wet or damp walls
- Using the wrong type of sealant for your wall material
- Applying too thin or too thick a coat
- Not allowing adequate drying time between coats
Avoiding these errors will extend the life of your waterproofing and protect your basement effectively.
Maintenance Tips for Long-Lasting Waterproofing
- Regularly inspect your basement walls for cracks or damage
- Keep gutters and downspouts clean and away from the foundation
- Use dehumidifiers to control indoor moisture levels
- Reapply sealant every few years, or as recommended by the manufacturer
Environmental and Safety Considerations
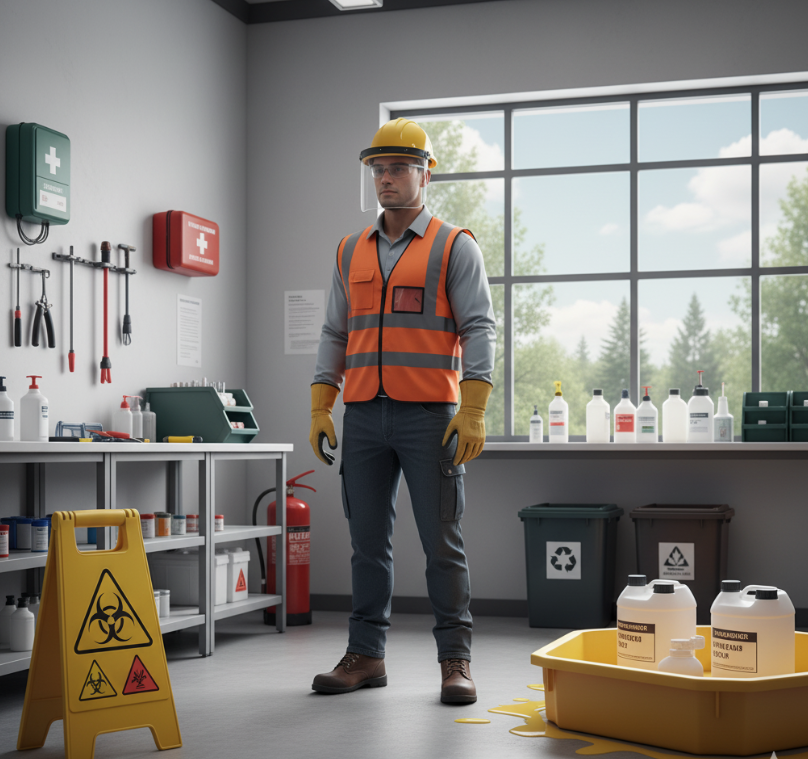
Always wear protective gear like gloves, goggles, and masks to protect against chemical exposure. Work in a well-ventilated area, especially when using solvent-based sealants. Opt for environmentally friendly sealants when possible to minimise environmental impact.
Cost Analysis: DIY vs Hiring Professionals
DIY waterproofing can cost between $200 and $500 depending on materials, while professional services may range from $1,000 to $3,000. DIY saves money but requires time and skill; professionals ensure thorough, warranty-backed results. Consider your budget, skills, and basement condition before deciding.
Frequently Asked Questions (FAQs)
1. How long does waterproofing sealant last on basement walls?
2. Can I apply waterproofing sealant myself?
3. Is waterproofing necessary if I don’t see any leaks?
4. What’s the best time of year to waterproof a basement?
5. Can waterproofing sealant be painted over?
6. What if my basement walls have severe cracks?
Conclusion: Final Thoughts on Basement Waterproofing
Properly applying waterproofing sealant on basement walls is a smart investment in your home’s durability and health. By understanding sealant types, preparing your walls meticulously, and following step-by-step application, you can safeguard your basement from moisture-related issues for years to come. Whether you choose to DIY or hire professionals, don’t wait for water damage to strike—act now to protect your home’s foundation.