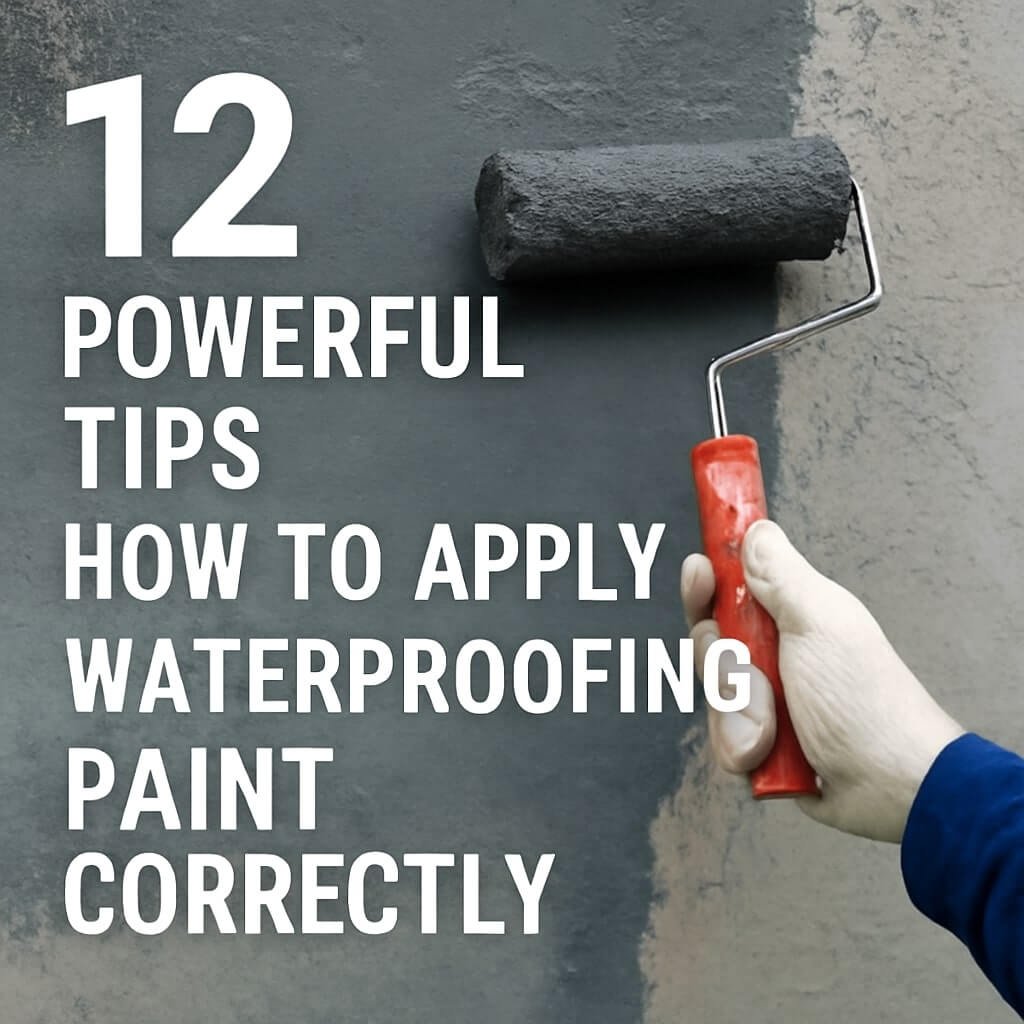
Waterproofing paint has become an essential element in preserving buildings, preventing water damage, and enhancing structural longevity. Knowing how to apply waterproofing paint correctly is crucial to ensure optimal performance and durability. This comprehensive guide will walk you through every step of the process, from surface preparation to maintenance, so you can enjoy long-lasting protection with confidence.
Introduction to Waterproofing Paint
Waterproofing paint is a special type of coating designed to repel water and protect surfaces from moisture damage. It’s commonly used on exterior walls, roofs, basements, and even concrete floors. If you’re wondering how to apply waterproofing paint correctly, you’re in the right place.
Understanding the Importance of Waterproofing Paint
What is Waterproofing Paint?
Waterproofing paint is formulated to create a water-resistant barrier on surfaces. Unlike regular paint, it contains additives that block water penetration and resist moisture buildup.
Benefits of Using Waterproofing Paint
- Prevents water seepage and leaks
- Protects against mould and mildew growth
- Enhances the durability of structures
- Saves costly repairs in the future
Preparing the Surface Before Application
Proper surface preparation is vital for a successful waterproofing paint application.
Cleaning the Surface
Start by removing all dirt, dust, grease, and loose particles. A clean surface ensures the paint adheres properly.
Repairing Cracks and Holes
Inspect the surface for cracks or holes. Fill them with suitable sealants and allow to dry.
Drying and Priming the Surface
Ensure the surface is completely dry before painting. Apply a primer if recommended by the manufacturer for better adhesion.
Selecting the Right Waterproofing Paint
Types of Waterproofing Paint
- Acrylic Waterproofing Paint: Flexible and UV resistant
- Bituminous Paint: Ideal for roofing and metal surfaces
- Cementitious Waterproofing: Great for concrete and masonry
Factors to Consider When Choosing Paint
- Surface type
- Weather conditions
- Durability requirements
- Budget constraints
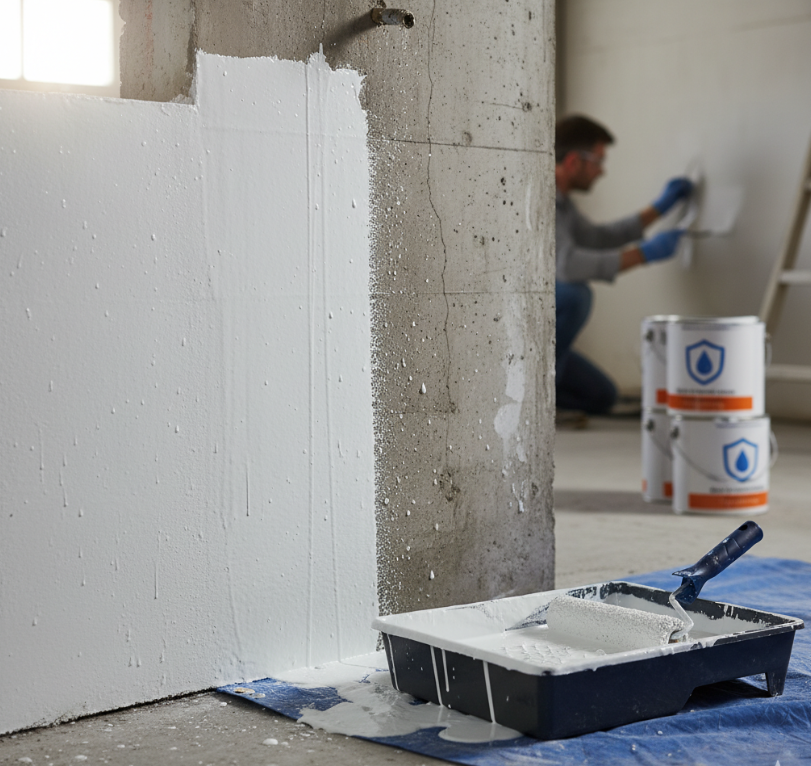
Step-by-Step Guide on How to Apply Waterproofing Paint
Required Tools and Materials
- Waterproofing paint
- Brushes or rollers
- Paint tray
- Protective gloves and a mask
- Surface primer (optional)
Application Techniques
- Stir the paint thoroughly before use.
- Apply the paint evenly in thin layers.
- Use a brush for corners and detailed areas.
- Allow the first coat to dry completely.
- Apply a second coat for enhanced protection.
Drying and Curing Time
Follow the manufacturer’s instructions, typically allowing 24-48 hours drying time between coats.
Common Mistakes to Avoid When Applying Waterproofing Paint
Overapplication
Applying too thick a layer can cause cracking and peeling.
Ignoring Surface Preparation
Skipping cleaning or repairs reduces adhesion and effectiveness.
Applying in Wrong Weather Conditions
Avoid painting in rainy or very humid weather to prevent poor drying.
Maintenance Tips After Applying Waterproofing Paint
Regular Inspections
Check the painted surface annually for any signs of damage.
Cleaning Tips
Clean surfaces gently with mild detergents to maintain waterproof integrity.
Frequently Asked Questions (FAQs)
Can waterproofing paint be applied on damp surfaces?
How many coats of waterproofing paint are needed?
Is waterproofing paint suitable for all surfaces?
How long does waterproofing paint last?
Can waterproofing paint be used indoors?
Do I need to wear protective gear during application?
Conclusion: Ensuring Long-Lasting Waterproof Protection
Applying waterproofing paint correctly is more than just slapping paint on a wall. It requires careful preparation, choosing the right materials, and following proper application techniques. By adhering to these 12 powerful tips, you’ll safeguard your property against moisture damage and enjoy peace of mind for years to come.


